How to Make Ragi Powder at Home Using Mixer Grinder (Without Sprouting)
How to make ragi powder at home is much easier than it sounds. If you’ve ever thought, “Can I make ragi powder at home without going to a flour mill?” — the answer is yes!
We recently tried making ragi powder at home using just a regular mixer grinder, and honestly, it turned out so good. No sprouting, no complicated steps, and no waiting for days. Just simple cleaning, roasting, grinding, and sieving — that’s it.
The best part? You know exactly what goes into your homemade ragi flour. No preservatives, no mixing with other grains, just pure whole ragi (kelvaragu). The texture comes out fine and fresh when you grind it properly and sieve it well.
We use this ragi powder for dosa, porridge, and even quick ragi malt on busy mornings. It feels satisfying to make such a healthy staple from scratch in your own kitchen.
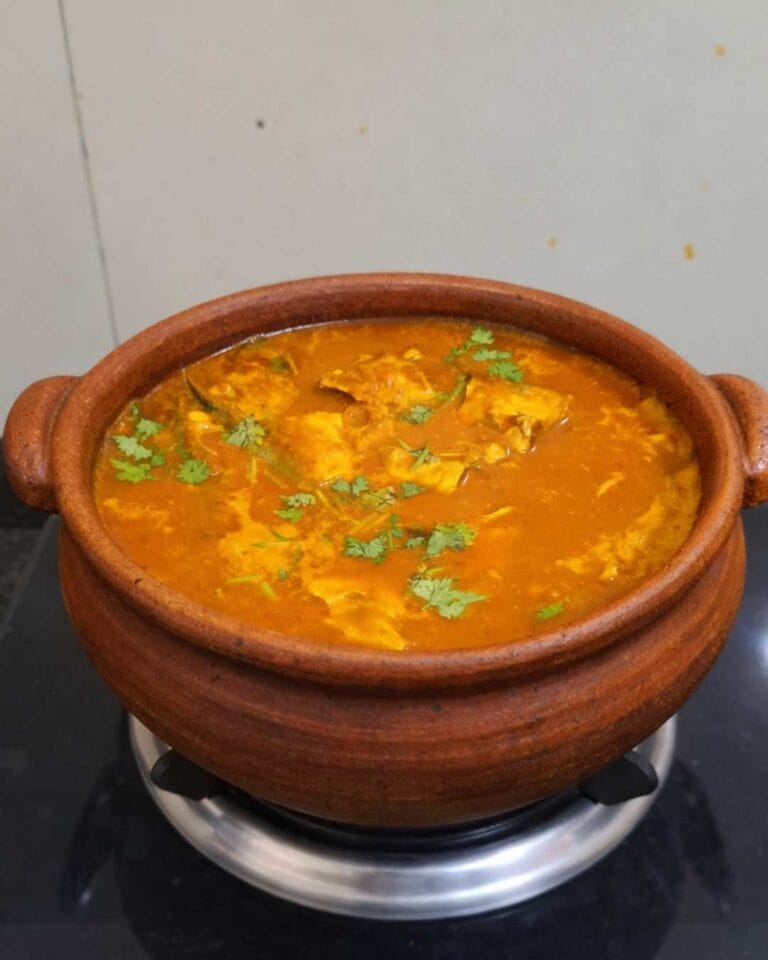
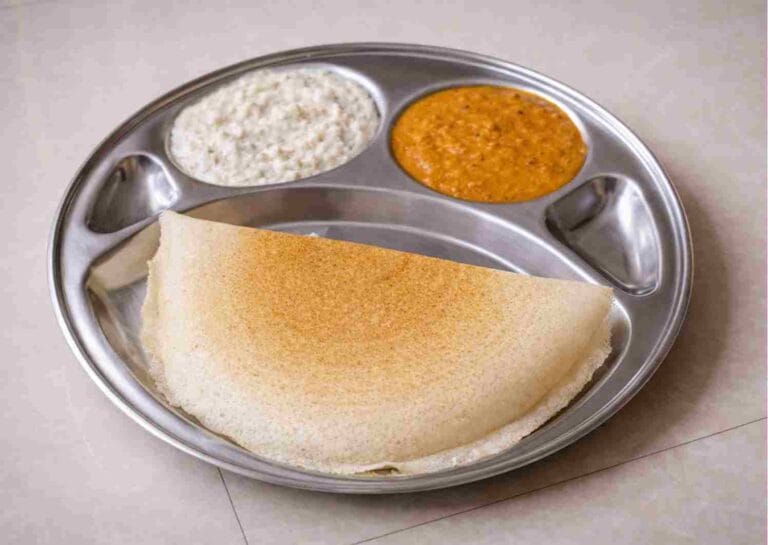
You can use this fresh homemade ragi flour to prepare traditional dishes like Ragi Kozh, Ragi dosa, Ragi porridge, Ragi malt, Ragi roti, Ragi ladoo or even simple morning porridge.
Ragi is a nutritious millet often used in many traditional healthy recipes, especially for breakfast and light meals.
If you have whole ragi and a mixer grinder at home, you’re already ready to try this!
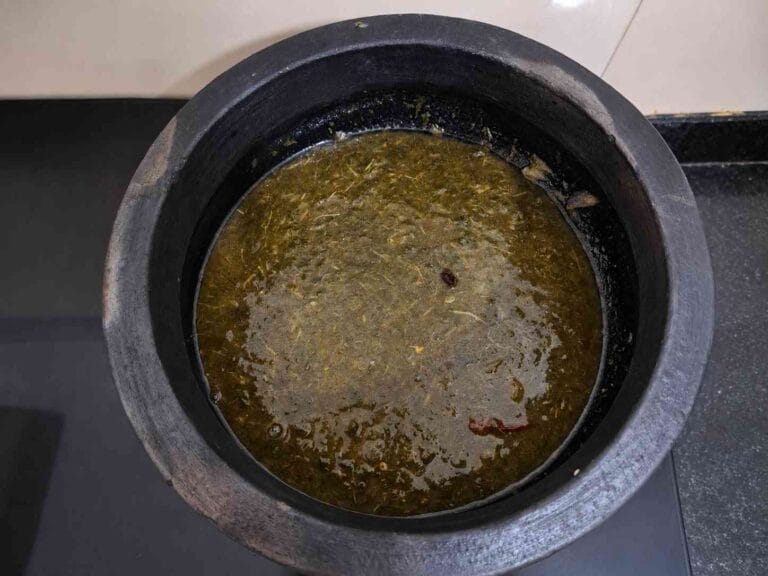
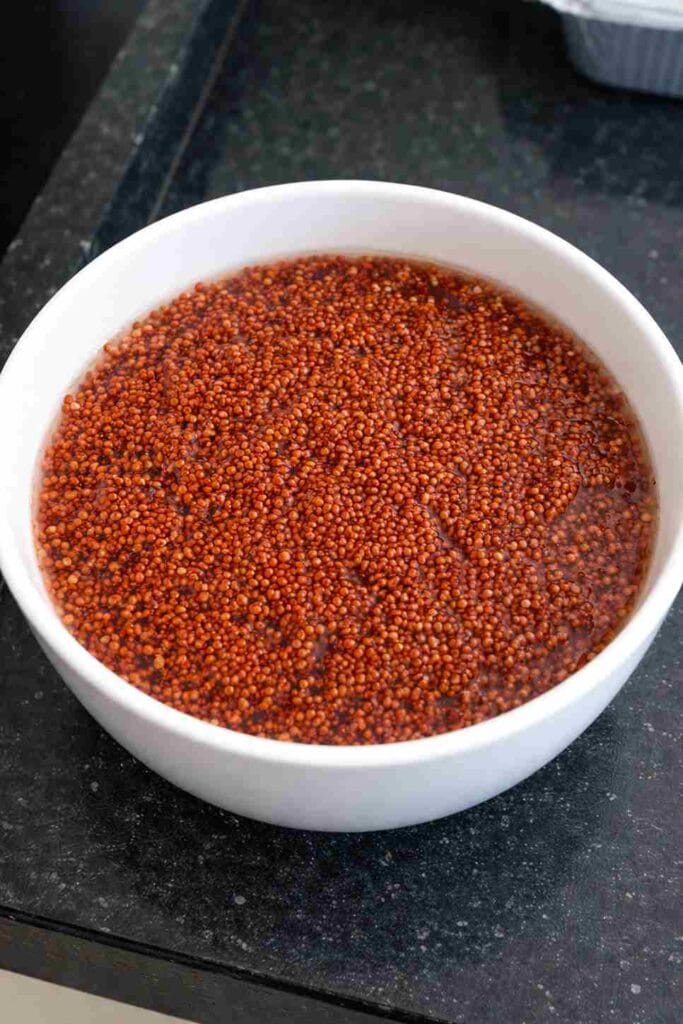
Step 1 : Cleaning and Washing Whole Ragi Before Grinding
Washing whole ragi thoroughly helps remove dust and impurities before drying and grinding it into fine homemade ragi powder.I used store-bought cleaned ragi for this recipe, and it had very few impurities. However, it’s always a good idea to quickly check for small stones or grit before washing, as even pre-cleaned grains may occasionally contain tiny particles.
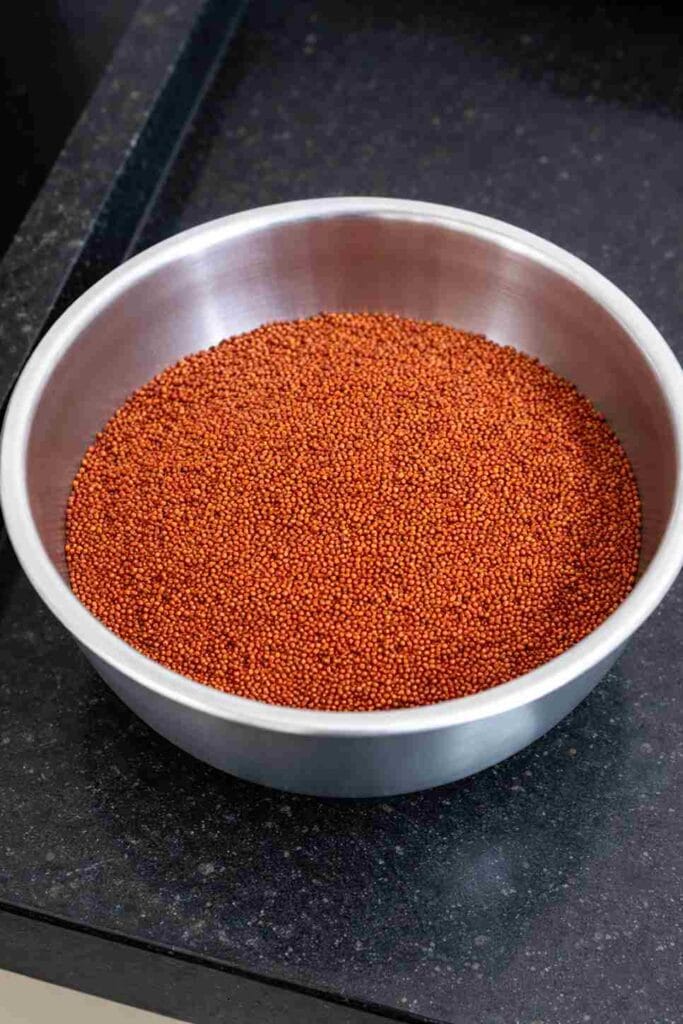
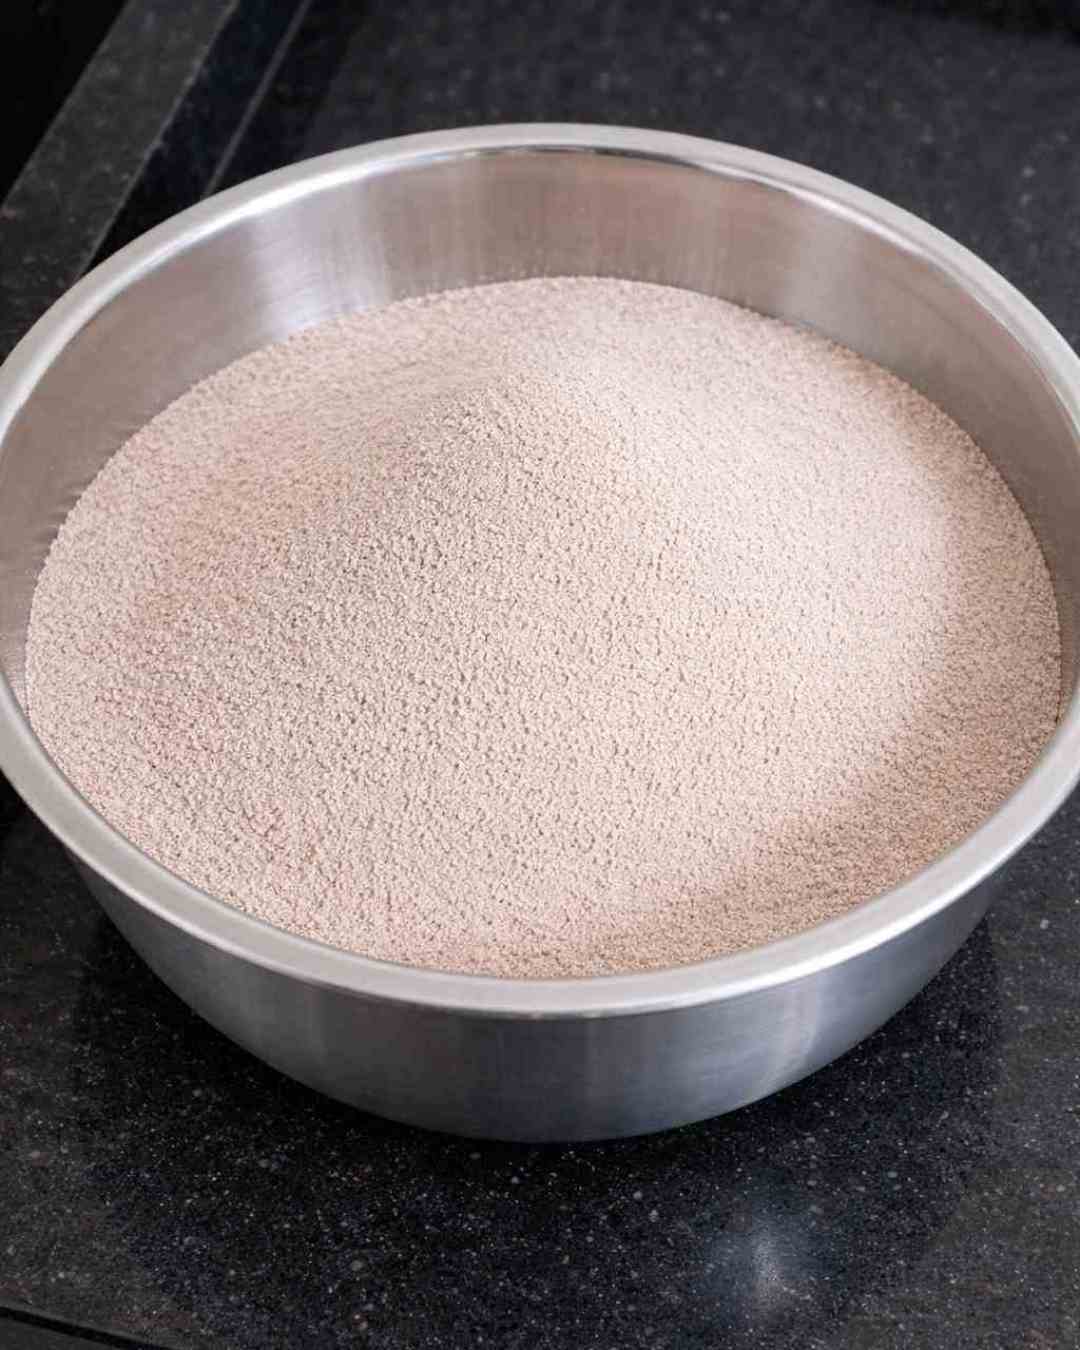
Step 2: Drying the Ragi Completely Before Grinding
Make sure the washed ragi is completely dry before grinding to get a fine and smooth ragi powder.
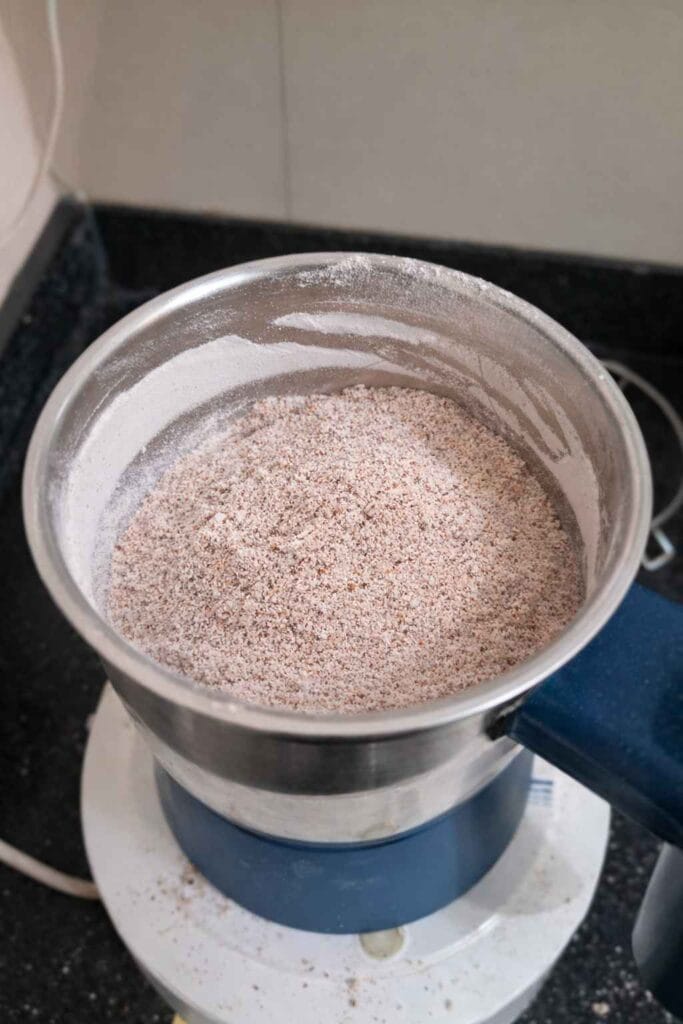
Step 3: Grinding Ragi in a Mixer Grinder
Grind the completely dried ragi in short pulses using a mixer grinder until it becomes a fine powder.
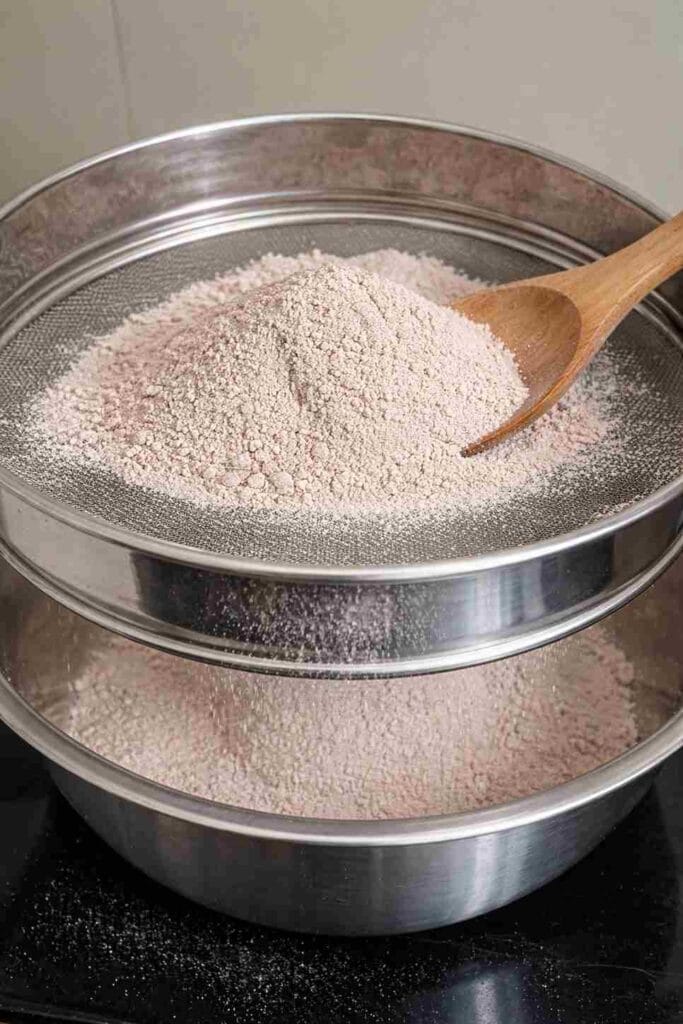
Step 4: How to Sieve Ragi Flour for Fine Texture
Sieve the ground ragi flour using a fine mesh strainer to remove coarse grains and achieve a smooth texture.
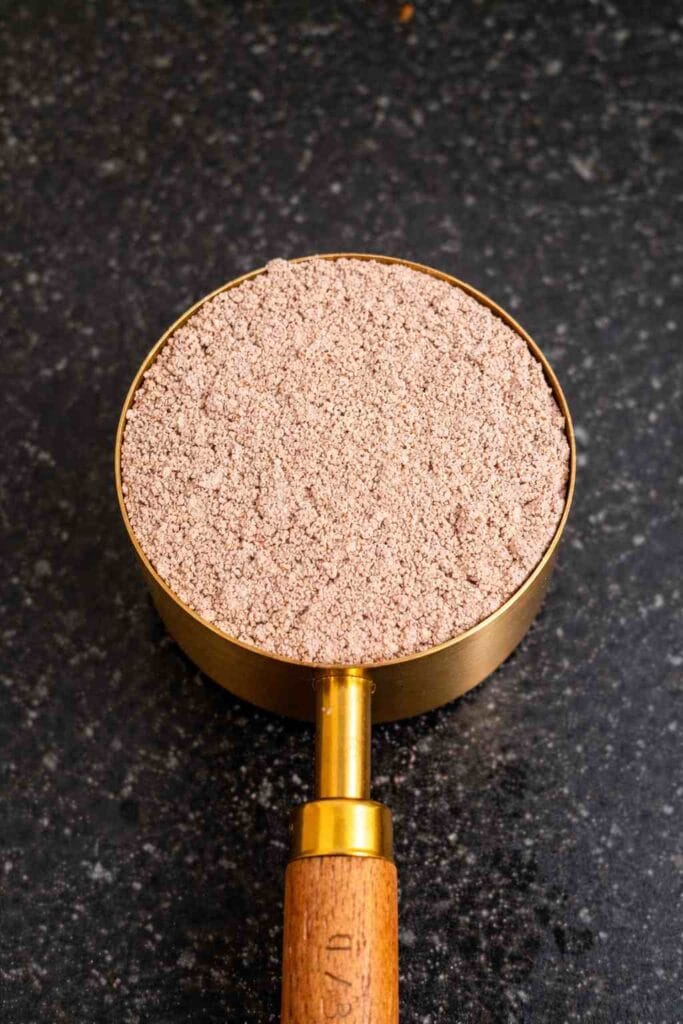
Step 5: Final Fine Ragi Powder Ready to Use
After sieving and re-grinding the coarse particles, you’ll get a smooth and fine ragi powder ready for storage.
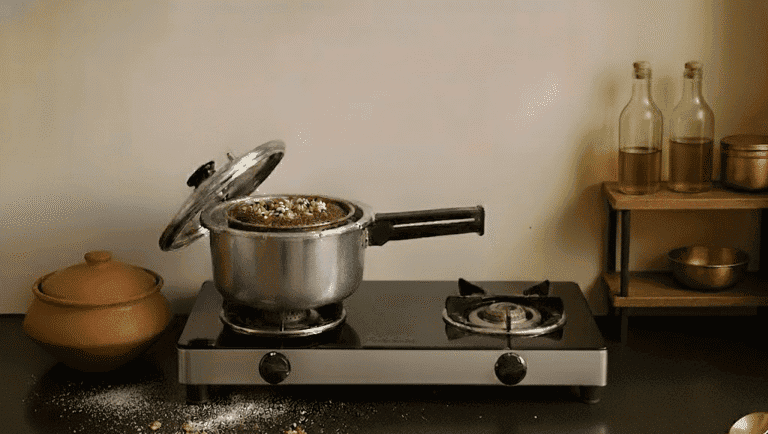
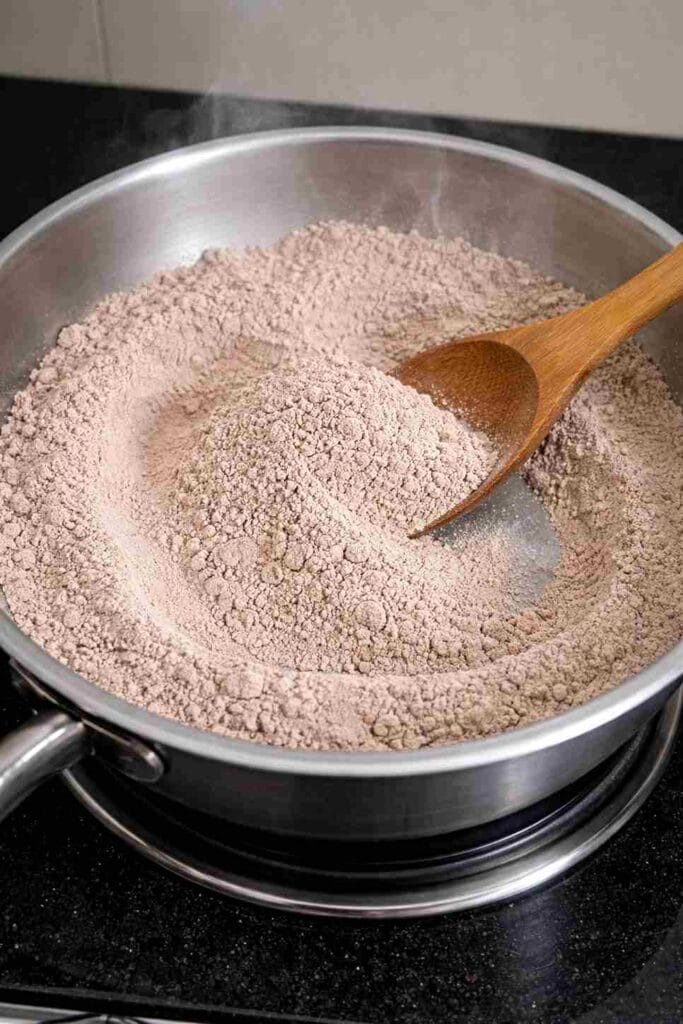
Step 6 (Optional): Lightly Roast the Ragi Flour for Better Shelf Life
Dry roast the sieved ragi flour on low flame for a few minutes to remove moisture and enhance flavor.
Why Roast After Sieving?
Even though the ragi is sun dried, lightly roasting the sieved flour helps remove any remaining moisture trapped inside the powder. This is especially helpful if you plan to store the flour for a longer period.
Roasting after grinding also prevents the flour from becoming sticky or forming small lumps during storage. Just make sure to roast on very low flame and stir continuously to avoid burning.
How to Make Ragi Powder at Home Step-by-Step (With Exact Measurements)
How to Make Ragi Powder at Home Using Mixer Grinder (Without Sprouting)
Ingredients
Equipment
Method
- Rinse the whole ragi thoroughly in water 2–3 times to remove dust and impurities.
- Drain the water completely.
- Spread the ragi on a clean cloth or tray and sun dry for 6–8 hours until completely dry.
- Once the ragi is fully dried, transfer it to a mixer grinder jar.
- Grind in small batches using short pulses to prevent overheating.
- Grind until it becomes a fine powder.
- Transfer the ground flour to a fine mesh sieve.
- Sieve to separate coarse particles, re-grind the coarse residue and sieve again until all flour is smooth
- (Optional) Lightly dry roast the sieved flour on low flame for 3–5 minutes to remove any remaining moisture.
- Allow it to cool completely before storing in an airtight container.
Notes
- Do not grind wet or partially dried ragi as it may reduce shelf life.
- If roasting, keep the flame very low and stir continuously to avoid burning.
- Always let the flour cool completely before storing.
- For longer storage, you may refrigerate the flour.
💡 Tips & Suggestions
- Always check for small stones or grit before washing the ragi to protect your mixer grinder blades.
- Even if using store-cleaned ragi, give it a quick visual check.
- Make sure the ragi is completely sun dried before grinding. Any moisture can reduce shelf life.
- Grind in small batches using short pulses to prevent overheating.
- If the mixer jar feels hot, pause for 1–2 minutes before continuing.
- Sieve the flour using a fine mesh strainer for smooth texture.
- Re-grind the coarse residue to avoid wastage.
- For babies or very fine recipes, sieve once more using a very fine cloth.
- Store in a completely dry, airtight container.
- If you are making ragi powder for long-term storage, lightly roast the sieved flour on low flame to improve shelf life and prevent clumping.
FAQS to Make Ragi Powder at Home
Can I grind ragi without washing it first?
It is always recommended to wash whole ragi to remove dust, small stones, and impurities. If you are using pre-cleaned, store-bought ragi labeled as “ready to grind,” washing may not be necessary. However, always check for grit before grinding to protect your mixer grinder blades.
How long can I store homemade ragi powder?
When stored in an airtight container in a cool and dry place, homemade ragi powder stays fresh for 1–2 months. For longer shelf life, you can refrigerate it to prevent moisture buildup.
Why is my ragi powder grainy?
Ragi powder may turn grainy if:
The grains were not completely dry before grinding
The sieve mesh was not fine enough
The coarse residue was not re-ground
Always sun dry thoroughly and sieve properly. Re-grind the coarse particles for a smoother finish.
Is roasting mandatory?
No, roasting is optional. If the ragi is completely sun dried, you can skip roasting. However, lightly roasting the flour on low flame for 3–5 minutes enhances aroma and helps remove any deep-seated moisture.
Can I use homemade ragi flour for baby food?
Yes, since it is homemade and preservative-free. For babies, sieve the flour multiple times using a very fine cloth or mesh to achieve a very smooth texture before cooking.
How do I know if the ragi flour is finely ground?
Do a simple “pinch test.” Take a small amount between your fingers — it should feel smooth and soft like talcum powder, not coarse like sand.
How much flour does 1/2 kg of ragi yield?
Approximately 500 grams of whole ragi yields around 3–4 cups of fine ragi flour, depending on how finely it is ground and sieved.
What if my mixer jar becomes hot while grinding?
If the mixer jar feels hot to the touch, stop grinding and let it cool for 1–2 minutes. Overheating can cause the ragi to release natural oils, leading to slight clumping.
How to Store Homemade Ragi Powder
Store the flour in a completely dry, airtight container. Keep it in a cool place away from moisture. If you live in a humid area, refrigeration is recommended for longer shelf life.
Final Thoughts
Making ragi powder at home is much easier than it sounds. If you’ve been wondering how to make ragi powder at home without a flour mill, all you need is whole ragi, proper sun-drying, and a standard mixer grinder to prepare fresh, pure ragi flour right in your kitchen.
The best part? You know exactly what’s in your food. By making it yourself, you avoid preservatives and ensure a smooth, fresh texture that works perfectly for Ragi Koozh, dosa, porridge, and malt.
Ragi is naturally rich in calcium, fiber, and iron, making it a popular millet in many traditional Indian diets. According to nutrition resources and research-based food databases, finger millet is known for supporting bone health and digestion when included as part of a balanced diet.
Once you experience the difference in freshness and aroma, you’ll never go back to store-bought. Give it a try and let me know in the comments — which ragi recipe are you planning to make first?