How to Season a Clay Pot for Cooking (5-Step Indian Method + Health Benefits)
How to season a clay pot for cooking is something most people don’t think about until the pot cracks or the food doesn’t turn out right.
If you’ve just bought a new clay pot and want to use it properly from the beginning, this guide will help you avoid common mistakes.
Clay pot cooking is one of my favorite ways to prepare food. I genuinely love the taste, the aroma, and that traditional, home-style feeling it brings to every dish.
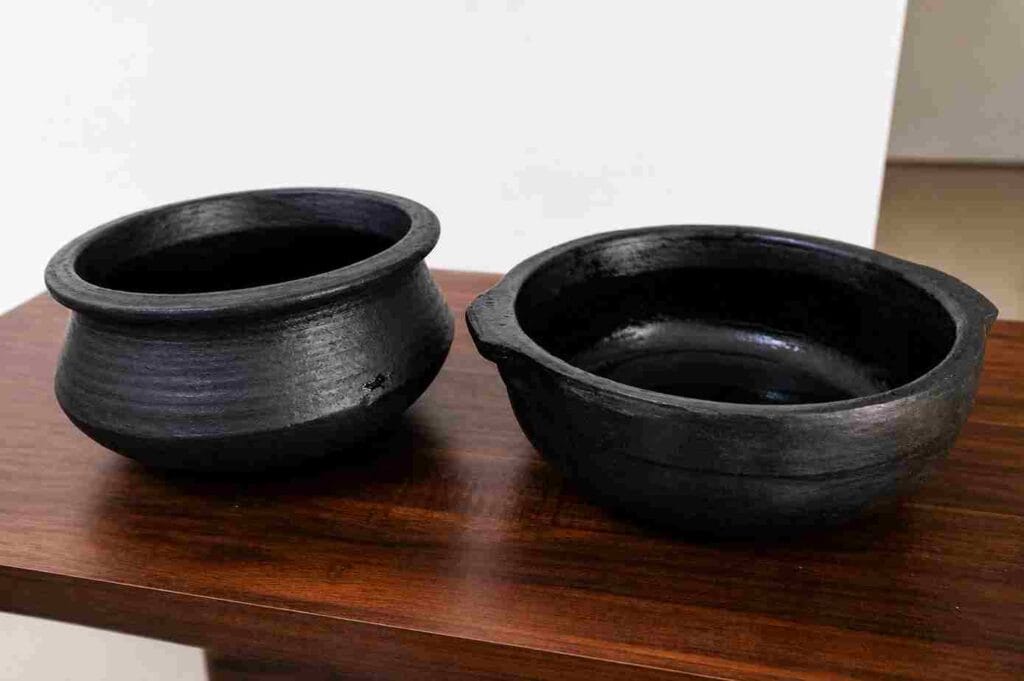
Recently, I travelled to a small town in southern Tamil Nadu, and in a local street shop, I found beautifully handcrafted unglazed clay pots. No chemicals, no coatings just pure natural clay. I couldn’t resist and bought two immediately.
I usually prefer buying clay pots from local pot makers or small street shops. The reason is simple — these pots are made from natural clay without any chemical coating or artificial finish.
I know most people today buy clay pots online or from big stores. They often look smooth, shiny, and “ready to use.” But many of these are factory-finished to improve appearance.
That’s why my personal suggestion is:
👉 If possible, try buying from local pot makers. It not only gives you a more natural product but also supports traditional artisans.
Now, a common question people have is:
“Why should I buy an unglazed pot and spend time seasoning it when I can just buy a pre-seasoned one online?”
That’s a fair question — but here’s what I learned from my experience.
Seasoning a clay pot is not complicated at all. It’s a simple process that takes a little time, but the results are completely worth it.
If you really want to enjoy authentic clay pot cooking — the real taste, aroma, and traditional feel — seasoning makes a big difference.
From my experience:
- It improves the cooking flavor
- It increases the lifespan of the pot
- It makes the pot stronger and safer for regular use
All it takes is about 2–3 days (around 72 hours), and you’ll have a perfectly seasoned clay pot ready for cooking at home.
In this guide, I’ll show you exactly how to season a clay pot step by step using a simple Indian method. I’ll also share a quick method if you don’t have much time, along with the health benefits of cooking in clay pots.
Why You Need to Season a Clay Pot (Before You Cook Anything)
The Problem: Raw Clay is Porous
When you first buy a clay pot, it may look solid and strong from the outside — but in reality, it’s full of tiny pores that you can’t see.
In simple words, the pot is still “raw” and not ready for direct cooking.
If you start using it without seasoning, you might notice a few problems right away:
- The pot can crack when exposed to heat
- Food may have a slight earthy or raw smell
- Water and oil may get absorbed unevenly
- The first few dishes may not taste right
This is exactly why seasoning is not optional — it’s something you really shouldn’t skip.
Why Seasoning Works
Think of seasoning as preparing the clay pot for real cooking.
What it basically does is create a natural protective layer inside the pot, so it can handle heat and cooking properly.
Here’s what happens during the process:
- Water soaking → hydrates the clay and reduces the chances of cracking
- Rice starch → fills and seals those tiny pores
- Oil coating → adds strength and a protective layer
When all these steps come together:
- The pot becomes stronger
- You get a slight natural non-stick effect
- Food cooks more evenly
- The pot lasts much longer
After I seasoned my clay pot, I could actually feel the difference — it felt stronger, more stable, and much better to cook in.
In many cases, if a clay pot cracks during the first use, it’s simply because this step was skipped.
Step-by-Step Guide: How to Season a Clay Pot for Cooking (Indian Method)
Now let’s get into the practical part — this is the exact method I followed, and it worked perfectly for me.
This is a traditional Indian way of seasoning a clay pot using simple ingredients available at home.
What You’ll Need
- Soft sponge (or coconut scrubber)
- A large bucket or tub
- Rice (for starch water)
- Coconut oil or sesame oil
- Water
- Sunlight
Total time: Around 2–3 days (don’t rush this process)
Day 1: Cleaning & Soaking
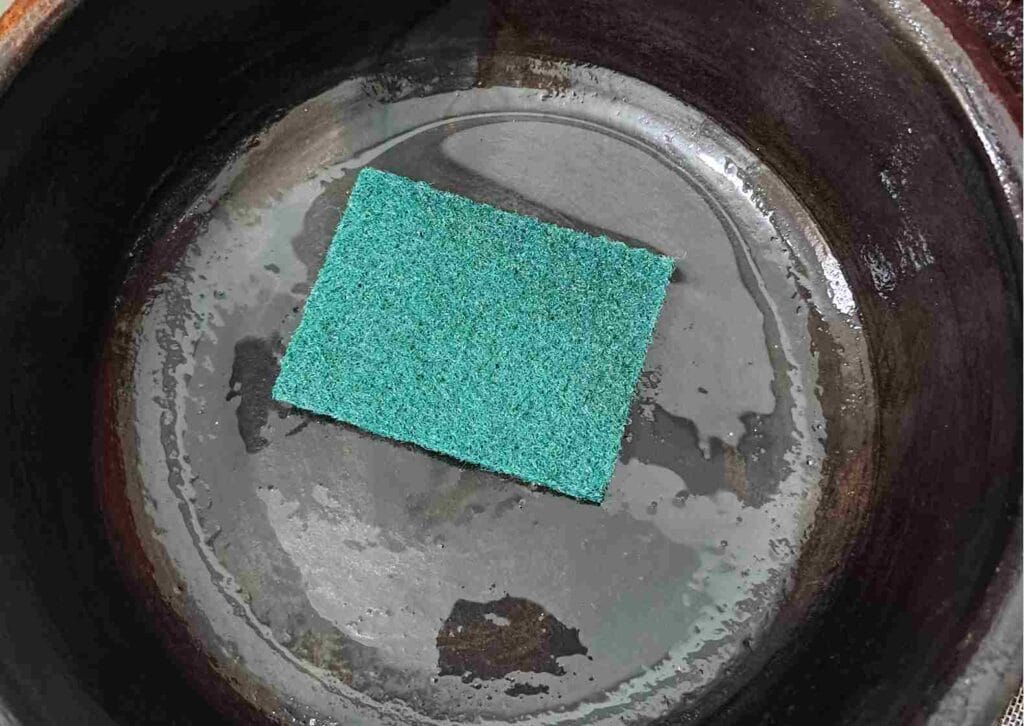
Step 1: Clean the Clay Pot (No Soap)
- Start by washing the clay pot with plain water.
- Use a soft sponge or even a coconut scrubber if you have one. Gently clean both the inside and outside.
- One important thing — don’t use soap or detergent. Clay can absorb it, and it might affect the taste of your food later.
- When I cleaned my pot for the first time, I could actually see fine clay particles coming out in the water. That’s when I realized how important this step is.
- So take a few minutes and clean it properly — it really makes a difference.
Step 2: Soak the Clay Pot (18–24 Hours)
Now it’s time to soak the pot.
- Fill a bucket with water and gently place the clay pot (along with the lid) inside, making sure it’s fully immersed.
- Leave it like this for about 18–24 hours. Don’t rush this step — it’s one of the most important parts of the whole process.
- This soaking helps the clay absorb water slowly, which reduces the chances of cracking when you start cooking.
- You might also notice small air bubbles coming out of the pot while it’s soaking — that’s completely normal. It just means the clay is absorbing water.
- After soaking mine, I noticed the pot felt slightly heavier and stronger. That’s when I understood how much difference this step actually makes.
Day 2: Rice Water Treatment
Step 3: Use Rice Starch Water
- Now we move to the next step, which is using rice starch water — also known as kanji in many Indian homes.
- You don’t need anything special for this. Just use what you already have in your kitchen:
- When you wash rice, collect that milky water
OR - If you’re cooking rice, use the leftover starch water
Both work perfectly.
This step might look simple, but it plays an important role in preparing the clay pot naturally.
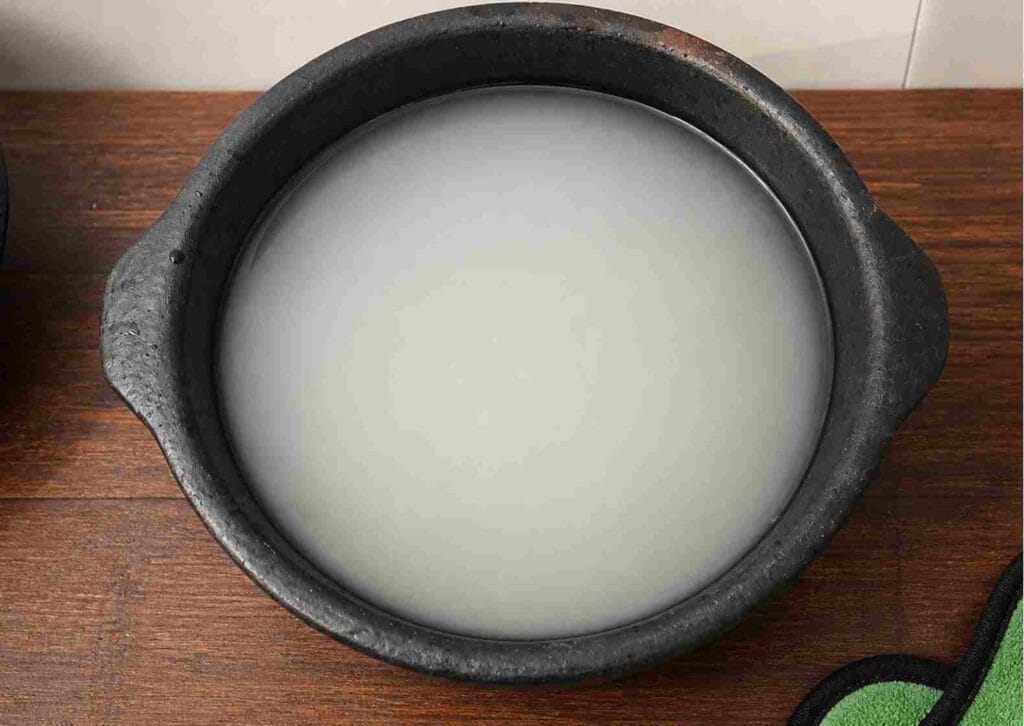
- Then, pour the rice starch water into the clay pot.
- Let it sit for about 1–2 hours so the clay can absorb it properly.
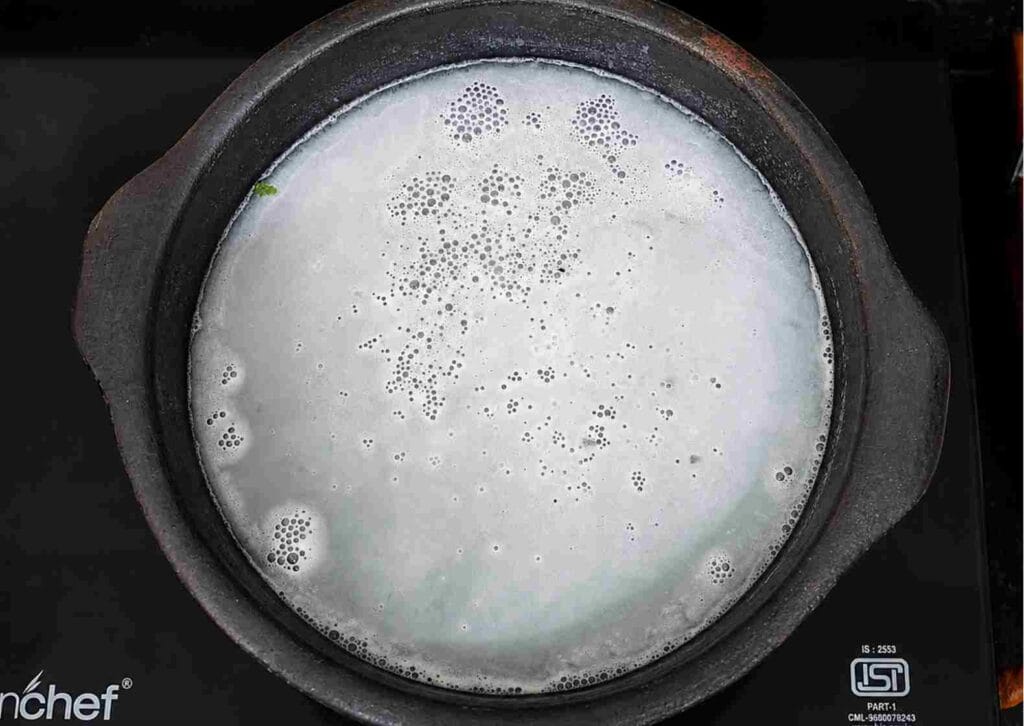
- If you want to take it one step further, you can place the pot on a very low flame and heat it gently for around 10–15 minutes. This is optional, but it helps the process.
- After that, let the pot cool down completely and leave it overnight.
- This step helps seal the tiny pores in the clay and makes the surface more stable for cooking.
- It’s a simple traditional method followed in many Indian homes — and it really works.
Step 4: Sun Dry the Pot
- Once you’re done with the rice water step, gently pour it out and give the pot a light rinse with water.
- Now place the pot under direct sunlight for about 2–3 hours.
- This helps dry out any remaining moisture and allows the starch layer to set properly inside the clay.
- Just let it sit undisturbed — sunlight does the rest.
Day 3: Oil Treatment & Final Preparation
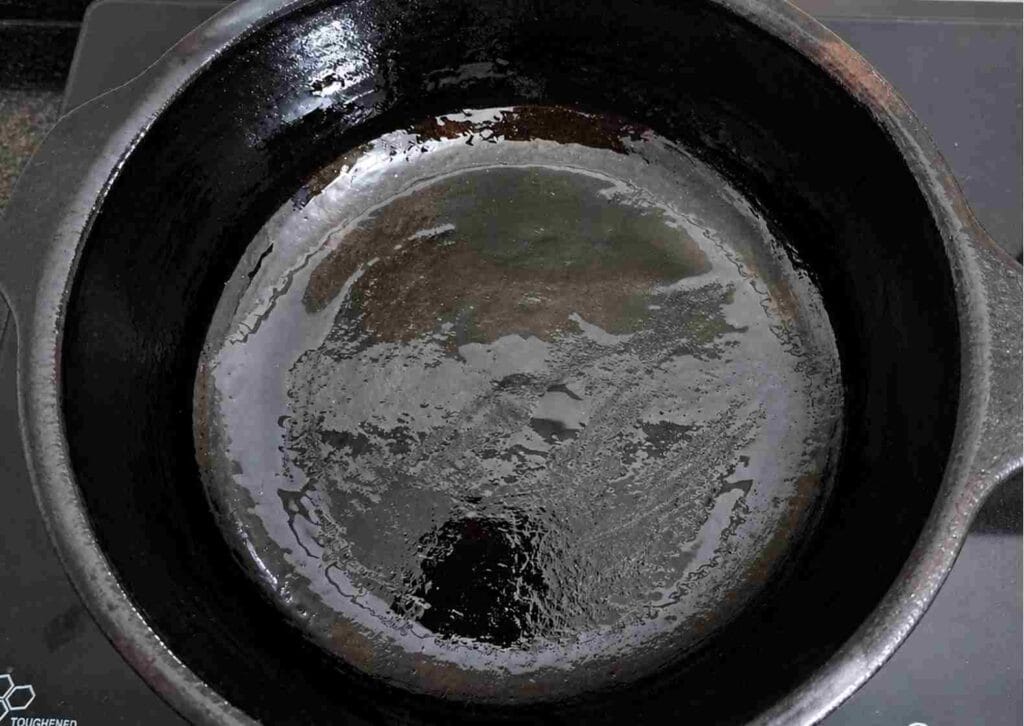
Step 5: Apply Oil
Now comes the final preparation step.
- Add 2–3 tablespoons of oil into the clay pot and spread it evenly across the inside and outside surface.
- Let it sit for about 20–30 minutes so the oil can slowly absorb into the clay.
- This step creates a natural protective layer and helps improve the durability of the pot over time.
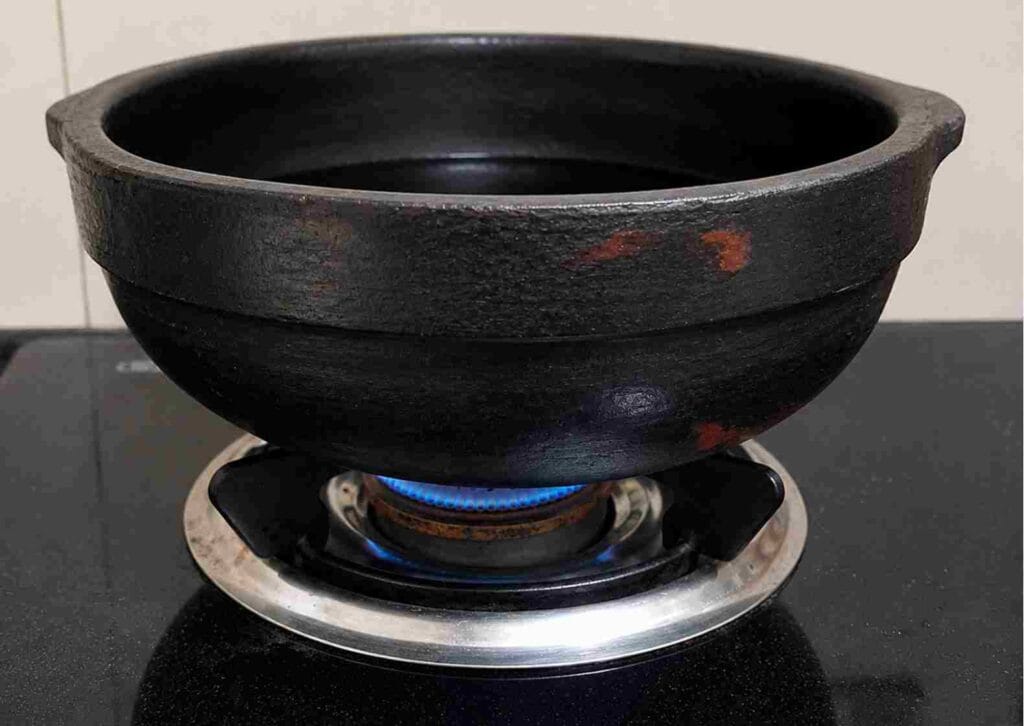
Step 6: Heat Gently (Final Step)
- After the oil has settled, place the pot on a low flame.
- Heat it gently for about 5–10 minutes, then switch off the flame and let it cool down completely.
- This helps the oil settle deeper into the clay and strengthens the pot further.
- At this point, your clay pot is almost ready to use.
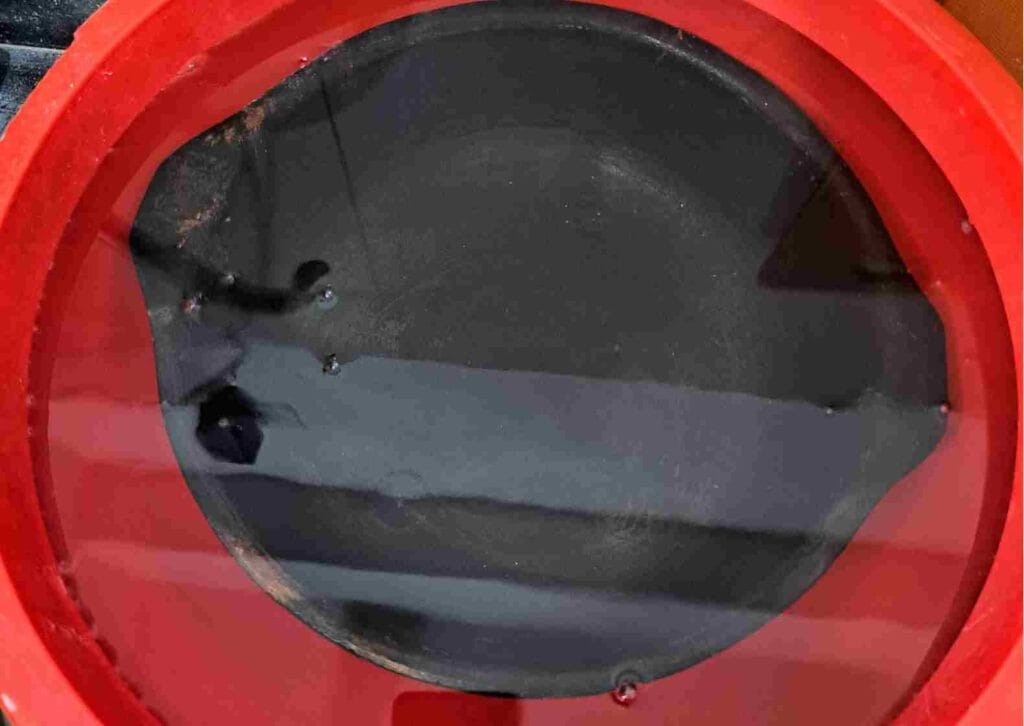
Step 7: Boil Water (Optional but Helpful)
- Once the oil step is done and the pot has cooled down, give it a gentle rinse with water using a soft sponge to remove any excess oil.
- Now, if you want to strengthen the seasoning further, you can do this optional step.
- Fill the pot with water and place it on a low to medium flame. Let it heat for about 20–30 minutes.
- After that, switch off the flame and allow the pot to cool down completely. Then discard the water.
- This final step helps set the seasoning properly and prepares the pot for regular cooking.
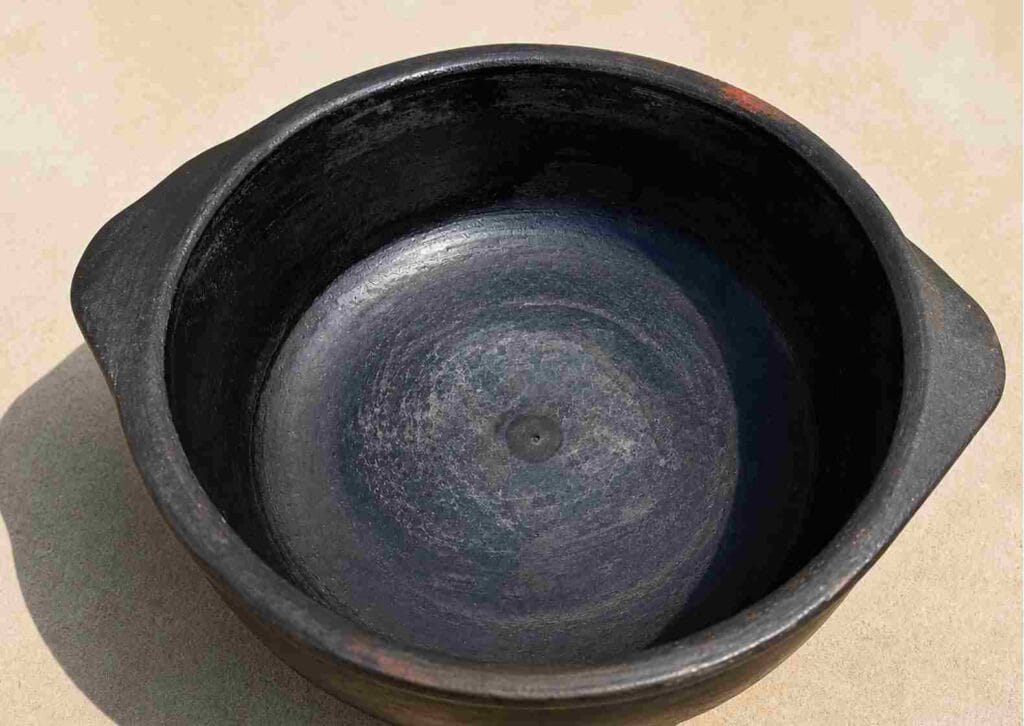
How You Know It’s Ready
- Once you’ve completed all the steps, you’ll start noticing a few clear changes in your clay pot.
- The pot may look slightly darker, the surface will feel smoother, and that strong earthy smell will reduce.
- You’ll also notice that it feels more solid and stable compared to when you first bought it.
- These are all good signs that your clay pot is properly seasoned and ready for cooking.
- After going through this process myself, I felt much more confident using the pot — and honestly, the cooking experience was much better.
Quick Method (If You’re in a Hurry)
Don’t have 2–3 days to follow the full process? No problem — you can still prepare your clay pot using a quicker method.
Here’s a simple shortcut you can follow:
- Clean the pot and soak it overnight
- Add rice starch water and heat it gently
- Apply oil and let it sun dry
This method works well if you’re short on time.
However, from my experience, the full seasoning method gives much better results in the long run — especially when it comes to durability and flavor.
So if you can, try to follow the complete process at least once.
Your Clay Pot is Now Ready
- After completing all these steps, your clay pot is finally ready to use.
- You’ll notice a clear difference — the pot feels stronger, safer for cooking, and more stable overall. It also tends to last longer, and the taste of food improves noticeably.
- Now you’re all set to start cooking in it.
First Meal in Your Seasoned Clay Pot: What to Cook
Now that your clay pot is ready, you might be wondering — what should you cook first?
For the first few uses, it’s always better to keep things simple. This helps the pot adjust gradually and gives you a better understanding of how it cooks.
Here are a few good options to start with:
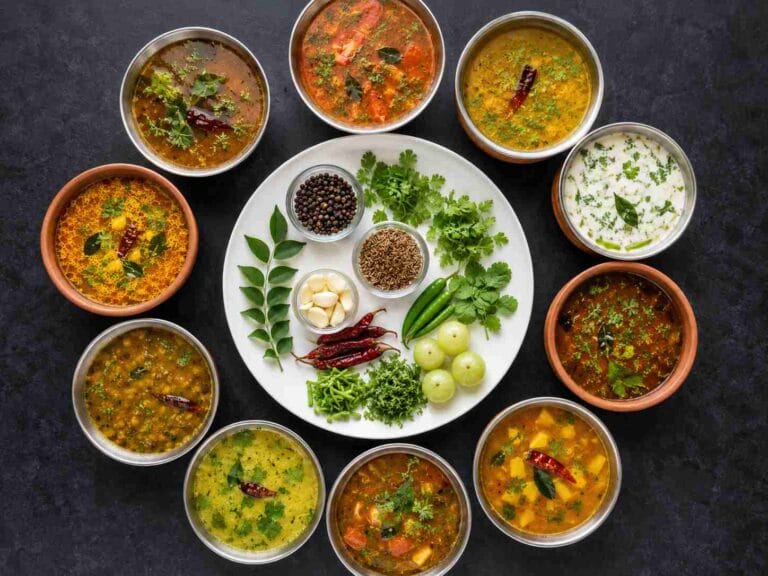
1. Dal (Lentils)
Dal is one of the best dishes to begin with. It’s soft, easy to cook, and has mild flavors. It also helps you understand how heat works in a clay pot without putting too much stress on it.
2. Mild Vegetable Curry
Simple vegetables like pumpkin, bottle gourd (sorakkai), or sweet potato work really well. Use light spices and keep it simple — these dishes are gentle on the pot and perfect for beginners.
3. Rice or Plain Water
Some people prefer cooking plain rice, while others simply boil water for the first use. Both methods help “break in” the pot slowly and prepare it for regular cooking.
If you’re wondering what to cook first, you can try simple dishes like vazhaipoo kootu, a comforting kezhvaragu koozh, or even a flavorful meen kulambu — these work really well in clay pots and are great for beginners.
Health Benefits of Cooking in a Properly Seasoned Clay Pot
- Seasoning a clay pot is not just about preventing cracks — it’s about making it safe, reliable, and better for everyday cooking.
- Over time, I’ve personally felt that food cooked in a clay pot tastes more natural, lighter, and closer to traditional home cooking. And there are a few simple reasons why.
- Let’s look at what makes clay pot cooking special.
Naturally Balanced Cooking (Alkaline Nature)
- Clay is naturally slightly alkaline.
- So when you cook acidic ingredients like tomatoes or tamarind, it can help balance the overall taste of the dish.
- In traditional cooking, especially in Indian households, this is often believed to support better digestion compared to some metal cookware.
May Help Retain Natural Minerals
- Unlike non-stick or aluminum cookware, clay is a natural material.
- It’s commonly believed that cooking in clay pots helps retain small amounts of natural minerals like iron, calcium, and magnesium.
- This is one of the reasons why clay pot cooking has been used for generations in traditional kitchens.
Slow & Even Cooking
One thing you’ll immediately notice is how clay pots heat.
They heat slowly and distribute heat evenly, which helps:
- Cook food gently
- Preserve nutrients better
- Bring out deeper, richer flavors
From my experience, food cooked in a clay pot tastes more authentic and comforting — very close to how traditional home-cooked meals used to be.
No Chemical Coating
Clay pots are made from natural material and do not have any synthetic coating.
Unlike many non-stick pans:
- There are no chemical layers
- No coating that can peel or wear off over time
This makes clay pots a more natural and long-term option for everyday cooking.
Many traditional practices support clay pot cooking, and even modern sources highlight its benefits. For example, this article on the benefits of cooking in an earthen pot explains how it supports natural cooking and enhances flavor.
Health Benefits Summary: Why This Matters
Here’s a simple summary to understand the benefits clearly
| Benefit | How Seasoning Helps | Long-term Impact |
|---|---|---|
| Alkaline Cooking | Sealed surface supports the natural properties of clay | Traditionally believed to support better digestion |
| Mineral Retention | Proper sealing helps maintain natural mineral balance | Supports overall nutrition |
| Even Heat Cooking | Seasoned clay distributes heat slowly and evenly | Better taste and nutrient preservation |
| No Chemical Coating | Clay pots do not have synthetic coatings | Safer cooking compared to non-stick cookware |
| Durability | Sealed pores reduce the risk of cracks | Pot lasts longer with proper care |
These benefits are based on traditional cooking practices and long-term usage in Indian kitchens. While results may vary, many people prefer clay pots for their natural and simple cooking style.
Traditional Cooking & Digestion
In traditional Indian cooking — and even in Ayurveda — clay pot cooking has always been valued for its natural way of preparing food.
The idea is simple: when food is cooked slowly and gently, it retains more of its original taste and balance.
With clay pots:
- Food cooks at a slower pace
- Spices release their flavor more naturally
- Meals often feel lighter and easier to digest
This is why many traditional kitchens preferred clay cookware for everyday cooking.
From my experience, food cooked in a clay pot feels more natural and satisfying — not just in taste, but also in how light it feels after eating.
Traditional Uses of Clay Pots in India (Why Our Ancestors Used Them)
Before stainless steel and non-stick cookware became common, almost every Indian kitchen used clay pots for different purposes.
Each type of clay pot was used for a specific kind of cooking. Understanding this helps you choose the right pot and use it properly.
Handi (Large Clay Pot – Everyday Cooking)
- Used for dal, curries, and gravies
- Wide opening makes it easy to stir and cook
- Common in North Indian cooking
Slow cooking in a handi helps bring out deeper flavors in food.
Matka (Clay Pot for Water)
- Used to store drinking water
- Keeps water naturally cool without a fridge
- Water tastes fresh and natural
This is still commonly used in many Indian homes during summer.
Uruli (Shallow Clay Pan)
- Used for curries and shallow frying
- Common in South Indian cooking
- Good for cooking fish and vegetables
Even heat distribution helps reduce the need for excess oil.
Small Clay Pots (For Curd & Fermentation)
- Used to make curd (dahi) at home
- Supports natural fermentation
- Keeps curd thick and fresh
This is one of the oldest traditional uses of clay pots.
Tandoor (Clay Oven)
- Used for cooking roti, naan, and grilled dishes
- Retains heat very well
- Gives a smoky, rich flavor
This method is still widely used in traditional cooking.
Why This Matters for You
Not all clay pots are used the same way.
Before seasoning your clay pot, it’s good to understand:
- What type of pot you have
- How it is traditionally used
When I bought my clay pot, I didn’t know this at first — but understanding this helped me use it better.
FAQs about Seasoning Clay Pots
Can I use soap to clean a clay pot?
No, it’s best to avoid soap. Clay is porous and can absorb it, which may affect the taste of your food later. Just use water and a soft sponge for cleaning.
How often should I re-season a clay pot?
You don’t need to re-season it often. Only do it if the pot starts absorbing too much water, develops small cracks, or hasn’t been used for a long time.
What is the difference between starch and oil seasoning?
Both play different roles.
Rice starch (kanji) helps seal the tiny pores in the clay, while oil creates a protective layer that makes the pot stronger and more durable.
My clay pot cracked during seasoning. What went wrong?
This usually happens if the pot wasn’t soaked properly or if it was heated too quickly. Clay pots need slow and gentle handling — especially during the first few uses.
Can I season a glazed clay pot?
No, glazed clay pots don’t need seasoning. They already have a coating, so this process is only required for unglazed clay pots.
Is terracotta the same as clay?
Yes. Terracotta is a type of baked clay. The seasoning process remains the same.
My pot still smells earthy after seasoning. Is it okay?
Yes, it’s completely normal.The smell usually goes away after 2–3 uses.
Can I boil water immediately after seasoning?
Yes. Boiling water for the first few uses actually helps strengthen the seasoning.
What if I buy a pre-seasoned clay pot?
You can use it after a simple rinse with water.But some people prefer doing a light seasoning again for safety.
What Next?
Now that your clay pot is ready, the real experience begins in your kitchen.
Start with something simple, observe how the pot cooks, and slowly explore more dishes. Every time you use it, you’ll understand it a little better.
If this is your first time using a clay pot, don’t overthink it — just start cooking.
If you’re interested in healthy and traditional cooking, you can also explore our guide on healthy millet recipes — they pair perfectly with clay pot cooking.
Share Your Experience
Tried seasoning your clay pot?
Tell me what you cooked first — I’d genuinely love to hear your experience. It might even help someone else who’s just getting started.
Stay Connected
If you enjoy simple, traditional cooking methods like this, you can stay connected for more easy and practical recipes.
For more simple, traditional recipes and cooking tips, subscribe to our newsletter.