Ragi Puttu Recipe | How to Make Soft & Fluffy Puttu with a Puttu Maker
This Ragi Puttu Recipe is one of my go-to breakfast recipes, and I make it at least twice a week. I use my homemade ragi flour , which gives the puttu a fresh taste and soft texture. Puttu has always been one of my favourite breakfast dishes because it’s simple, healthy, and loved by everyone at home, from kids to adults.
Whenever I don’t feel like spending too much time chopping vegetables, grinding masalas, or standing near the stove, this is the first breakfast that comes to my mind. I usually enjoy my ragi puttu with banana and nattu sakkarai, while many people also love serving it with kadala curry or freshly grated coconut.
To make breakfast even easier, I bought a puttu maker and always keep it ready in my kitchen. Once the puttu is filled and placed on the steamer, I simply set the induction stove with a timer and continue with my morning work. There’s no sautéing, no constant stirring, and no need to stand near the stove.
The only step you need to pay close attention to is the puttu flour consistency. This is the secret to getting soft and fluffy ragi puttu every single time. Don’t worry—I’ll share my simple tips, the correct water ratio, and an easy hand test so you can get perfect results even if you’re making ragi puttu for the first time.
Let’s see how to make this simple, healthy, and filling Ragi Puttu Recipe step by step.
If you enjoy traditional South Indian breakfasts, you might also like my Kavuni Puttu Recipe, Ulundu Paal Recipe, Vendhaya Kali Recipe, and Idiyappam Recipe.
Nutritional Benefits of Ragi
Ragi, also known as finger millet, is a nutrient-rich millet that has been enjoyed in South Indian households for generations. It is naturally gluten-free and makes a wholesome choice for breakfast. Since this Ragi Puttu Recipe is steamed, it is also a light and nourishing meal.
- Rich in calcium: Ragi is one of the richest cereal sources of calcium, which supports healthy bones and teeth.
- Contains iron: Ragi provides iron, an important mineral that helps support the production of healthy red blood cells and normal oxygen transport in the body.
- High in dietary fiber: The fiber in ragi promotes healthy digestion and helps you stay full for longer.
- Provides plant-based protein: It contains protein that contributes to a balanced diet and supports muscle maintenance when combined with other protein-rich foods.
- Contains antioxidants: Ragi naturally contains plant compounds called polyphenols, which help protect cells from oxidative stress.
- Source of essential minerals: It also provides minerals such as phosphorus, potassium, and magnesium, which support normal body functions.
- Complex carbohydrates: Ragi releases energy gradually, making it a satisfying breakfast option for busy mornings.
- Naturally gluten-free: It is a good choice for people following a gluten-free diet (when processed without cross-contamination).
Note: While ragi is highly nutritious, it should be enjoyed as part of a balanced and varied diet along with other wholesome foods.
Ingredients for Ragi Puttu Recipe
You only need a few simple ingredients to make this soft and fluffy Ragi Puttu Recipe. I used homemade ragi flour, but you can also use good-quality store-bought ragi flour.
- Banana, for serving (optional)
- 1 cup ragi flour (homemade or store-bought)
- ¾ cup water (approximately, add as needed)
- Salt, to taste
- Fresh grated coconut, as needed (optional, for layering or serving)
- Nattu sakkarai (country sugar), for serving (optional)
How to Make Ragi Puttu (Step-by-Step)
Step 1: Prepare the Ragi Flour
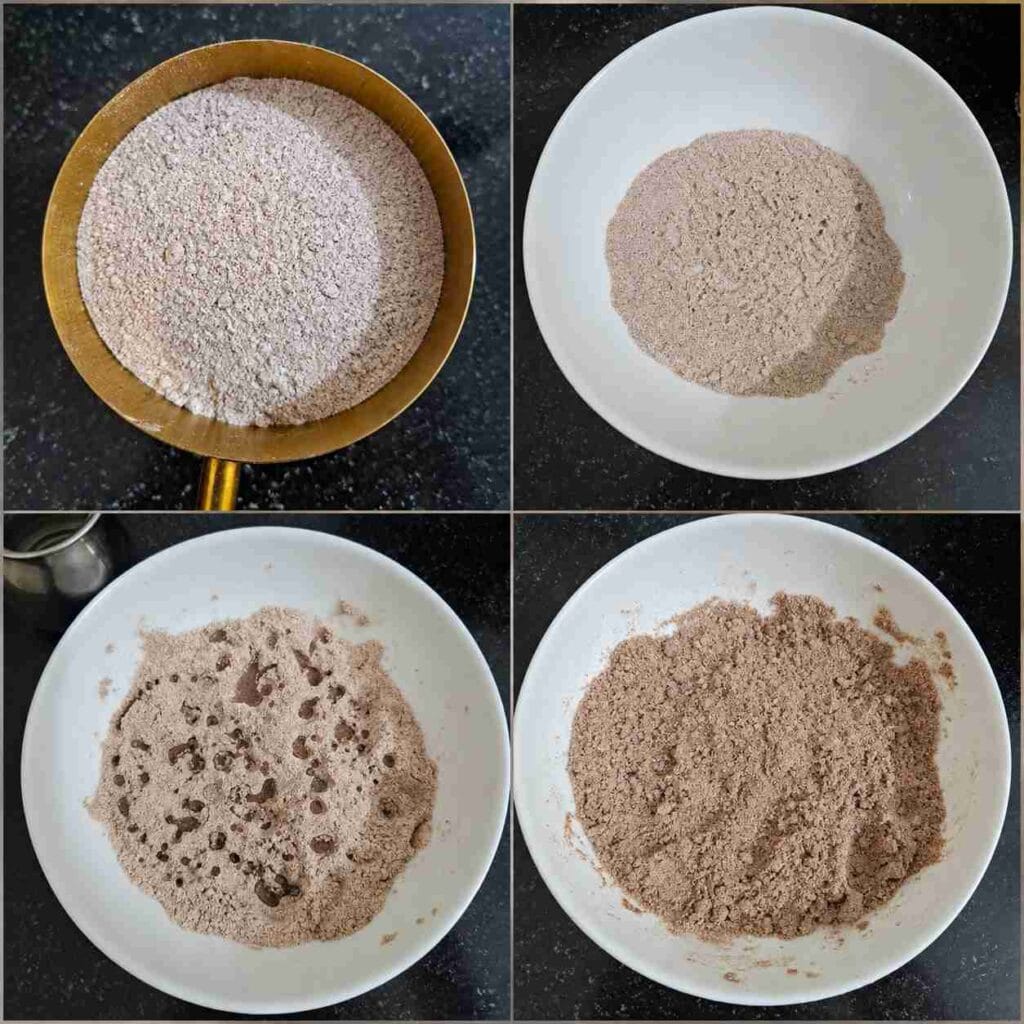
Add 1 cup of ragi flour to a mixing bowl. Add salt to taste and mix well until the salt is evenly distributed.
Step 2: Sprinkle Water and Mix
Gradually sprinkle about ¾ cup of water, mixing continuously with your fingertips. Do not pour all the water at once, as this can form lumps.
Step 3: Check the Perfect Puttu Flour Consistency
Take a handful of the flour and press it gently. It should hold its shape when pressed and crumble back into loose grains when broken apart. This is the correct consistency for soft and fluffy puttu.
Step 4: Fill the Puttu Maker
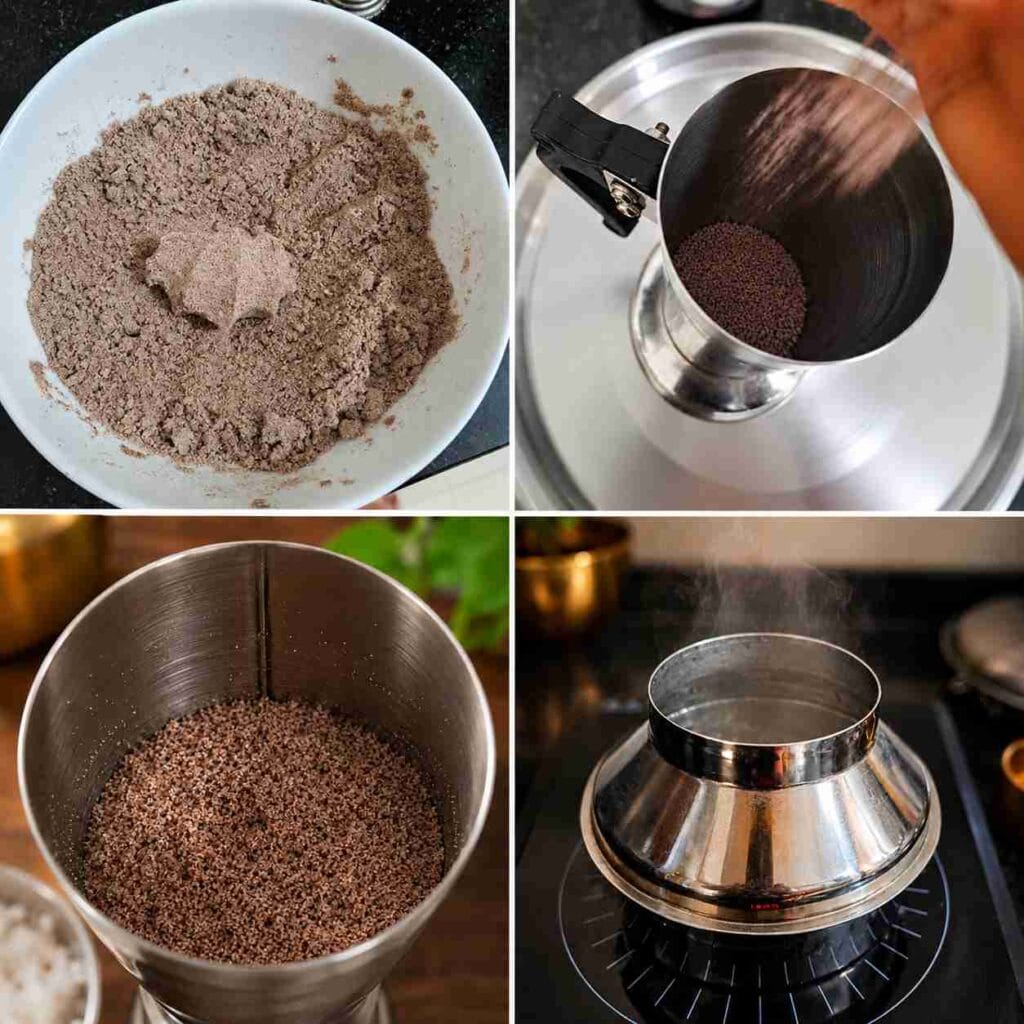
Bring water to a rolling boil in the puttu maker. Meanwhile, fill the puttu tube with the prepared ragi flour. You can add grated coconut between the layers if you prefer.
Note : Before filling the puttu maker (kuzhal), lightly grease the inside with a little oil or ghee. This helps the cooked puttu come out easily and keeps it from sticking to the mould.
Step 5: Steam the Puttu
Place the filled puttu tube over the steamer and cook for 12 minutes until the puttu is cooked through and aromatic.
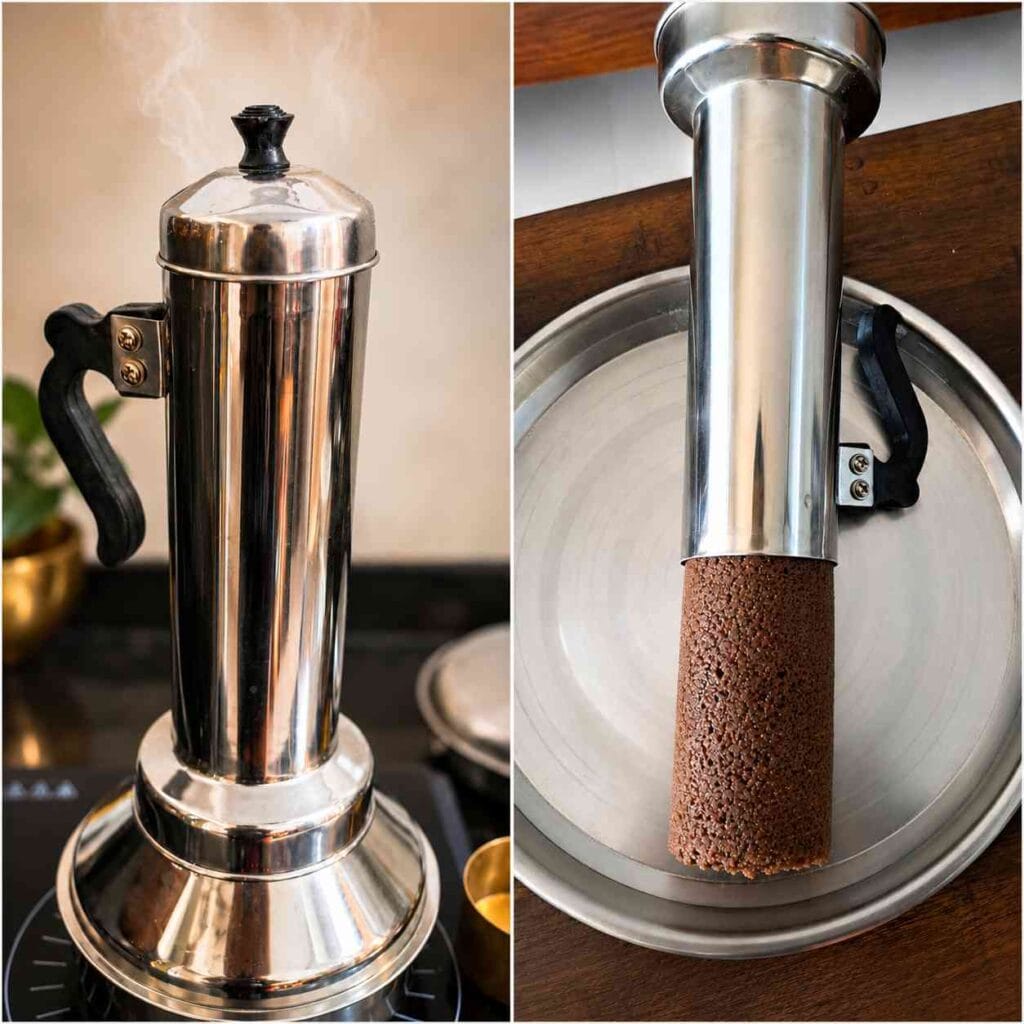
Step 6: Serve and Enjoy
Carefully remove the cooked puttu onto a serving plate. Enjoy it warm with fresh grated coconut, nattu sakkarai, banana, or serve it with kadala curry for a savoury meal.
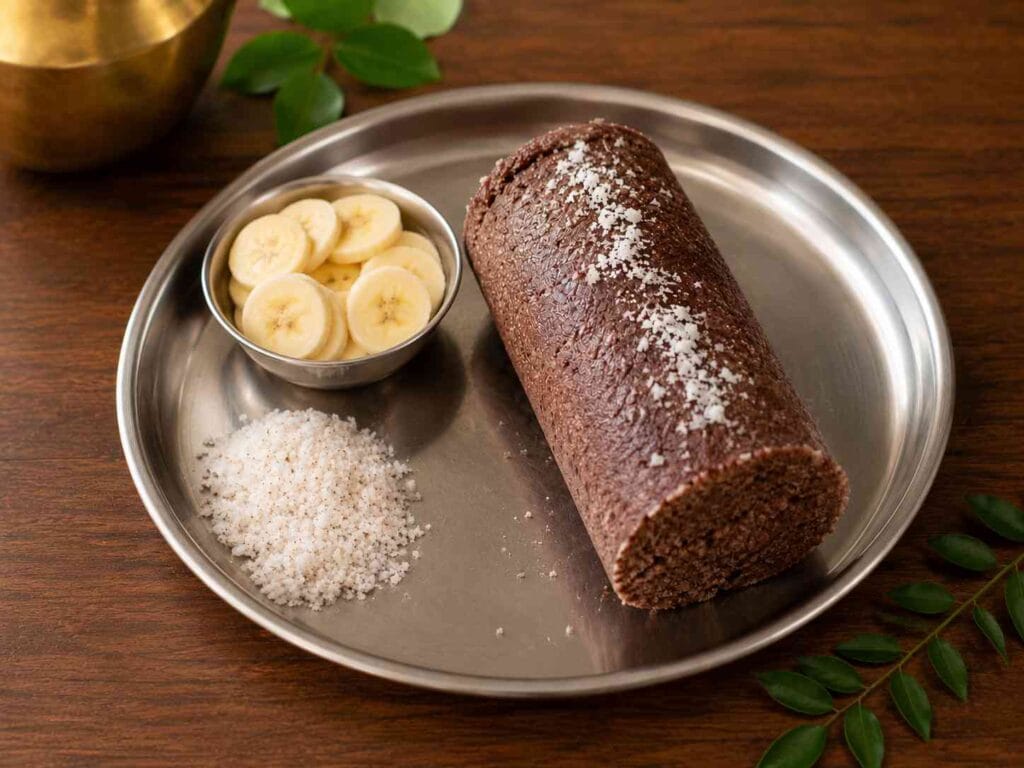
Expert Tips for the Best Ragi Puttu
- Use freshly grated coconut for the best flavour and moisture. Frozen coconut works too, but thaw it completely before using.
- Enjoy the puttu while it’s hot. Ragi puttu is softest immediately after steaming. As it cools, it becomes slightly firmer.
- Adjust the sweetness to your preference. I usually serve it with banana and nattu sakkarai, but palm jaggery or jaggery powder also pair well.
- Turn it into a savoury meal. If you don’t prefer sweet puttu, serve it with kadala curry, vegetable kurma, or a simple coconut chutney.
- Make it more filling. Add extra grated coconut between the layers or serve it with a banana for a wholesome breakfast.
- Store leftovers properly. If you have leftovers, refrigerate them in an airtight container and steam or sprinkle a little water before reheating to restore softness.
What to Serve with Ragi Puttu
Ragi puttu is a versatile breakfast that can be enjoyed in both sweet and savoury ways. I usually serve it with banana and nattu sakkarai, but there are many delicious combinations to suit your taste.
- Banana and Nattu Sakkarai: My favourite combination for a simple and traditional breakfast.
- Fresh Grated Coconut: Adds freshness and enhances the flavour of the steamed puttu.
- Palm Jaggery or Jaggery Powder: A natural sweetener that pairs beautifully with ragi.
- Kadala Curry: A classic Kerala-style combination for a hearty and protein-rich meal.
- Vegetable Kurma: A mildly spiced curry that goes well with soft ragi puttu.
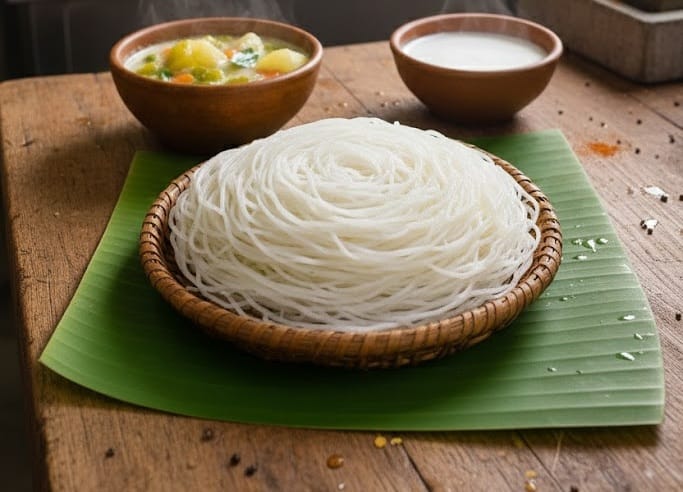
- Vegetable Stew: A mild and creamy vegetable stew that pairs wonderfully with soft ragi puttu.
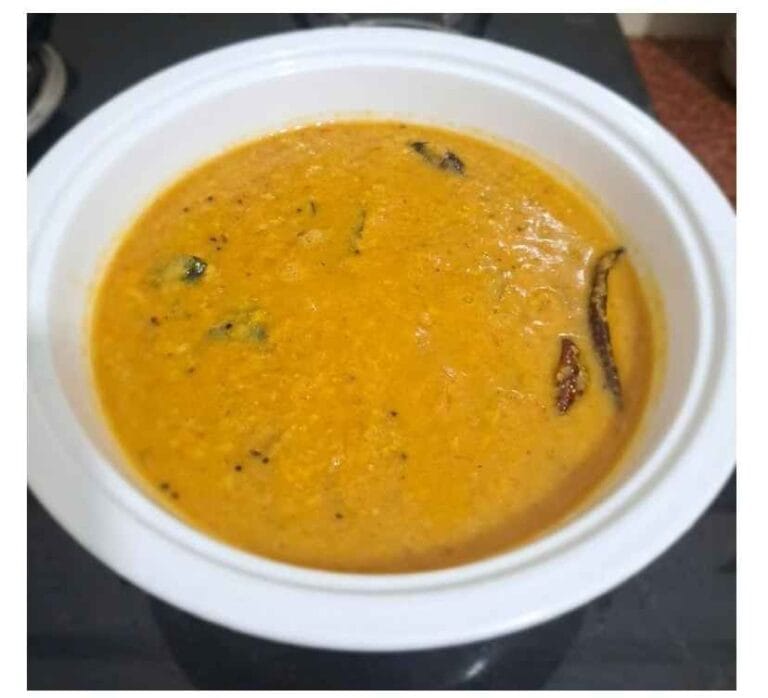
- Green Gram Curry (Cherupayar Curry): A healthy, protein-rich accompaniment that’s commonly served with puttu in many South Indian homes.
Frequently Asked Questions
Can I use store-bought ragi flour?
Yes. Fresh store-bought ragi flour works well for this recipe. If you’re using homemade ragi flour, it gives an even better flavour and texture. Just make sure the flour is fresh for the best results.
Why did my ragi puttu turn hard?
Ragi puttu can become hard if the flour doesn’t have enough moisture or if it is steamed for too long. The flour should hold its shape when pressed and crumble easily when broken apart before steaming.
Can I make ragi puttu without a puttu maker?
Yes. If you don’t have a puttu maker, you can steam the prepared ragi flour in an idli plate, idiyappam steamer, or any steamer with a perforated plate. The texture may vary slightly, but it will still turn out delicious.
How long does ragi puttu stay fresh?
Ragi puttu tastes best when served hot. However, leftovers can be refrigerated in an airtight container for up to 1 day. Sprinkle a little water and steam for 2–3 minutes before serving to restore its soft texture.
How much water should I add to ragi puttu flour?
There is no fixed amount of water, as it depends on the type and freshness of the ragi flour. Always sprinkle the water gradually while mixing until the flour holds its shape when pressed and crumbles easily when broken apart.
How do I store leftover ragi puttu?
Store leftover ragi puttu in an airtight container in the refrigerator for up to 1 day. Sprinkle a little water and steam for 2–3 minutes before serving to restore its soft texture.
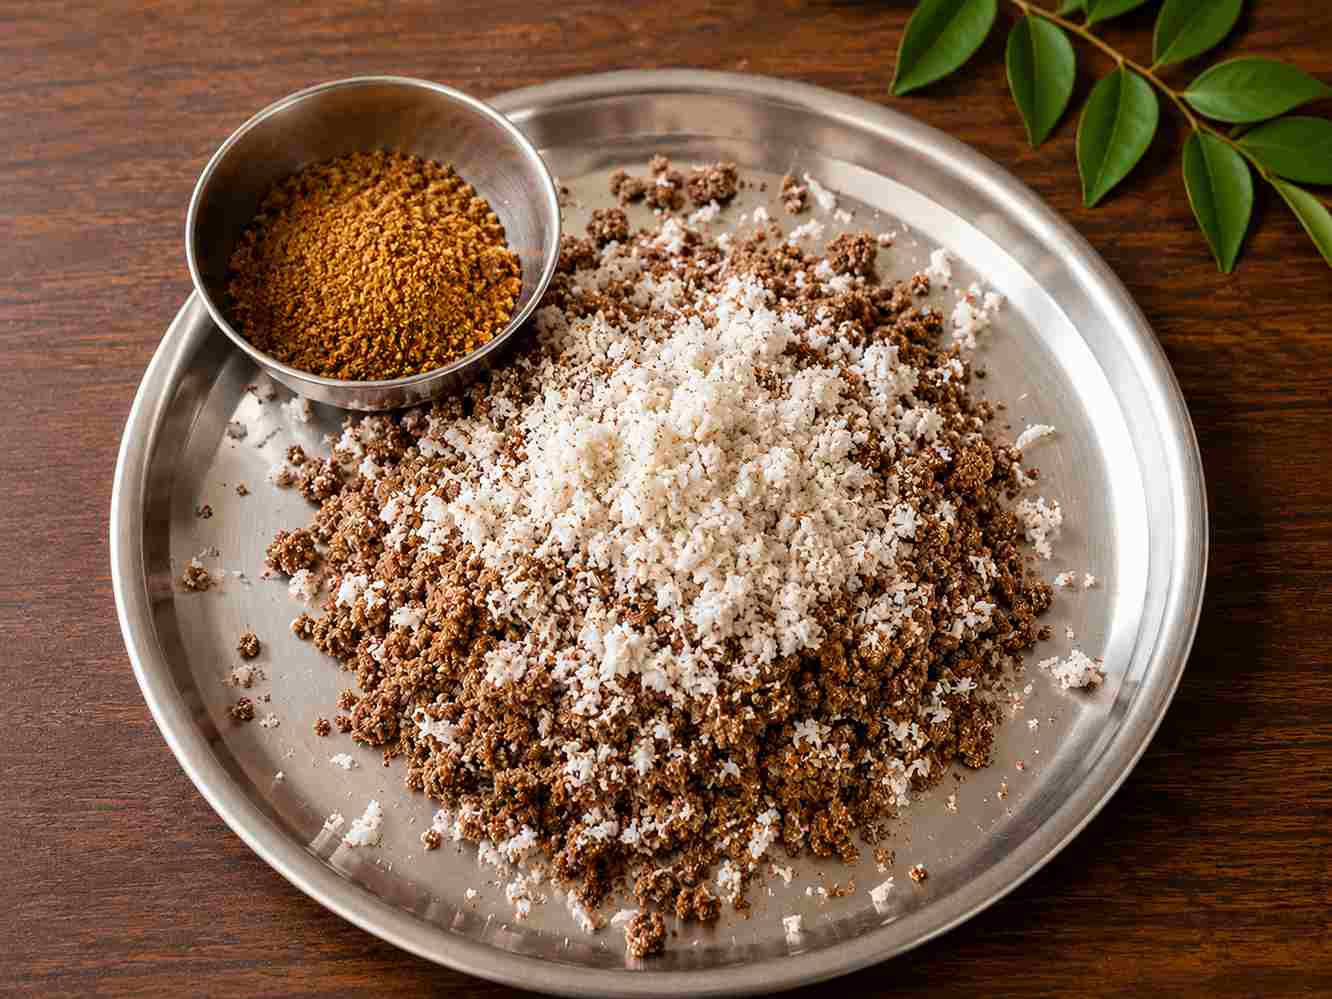
15minute Ragi Puttu Recipe
Ingredients
Equipment
Method
- Add 1 cup ragi flour to a mixing bowl.
- Add salt to taste and mix well.
- Gradually sprinkle approximately ¾ cup water, adding it little by little while mixing with your fingertips.
- Continue mixing until the flour reaches the correct puttu consistency. When pressed in your hand, it should hold its shape and crumble easily when gently broken apart.
- Pour water into the puttu steamer and bring it to a rolling boil.
- Lightly grease the inside of the puttu maker (kuzhal) with a little oil or ghee to prevent sticking.
- Fill the puttu maker with the prepared ragi flour. If desired, add grated coconut between the layers.
- Attach the puttu maker to the steamer and steam for 12 minutes.
- Carefully remove the cooked ragi puttu from the puttu maker.
- Serve hot with banana, nattu sakkarai, freshly grated coconut, kadala curry, or vegetable stew.
Notes
- The quantity of water depends on the freshness and type of ragi flour. Always sprinkle the water gradually instead of adding it all at once.
- The correct flour consistency is the secret to soft and fluffy puttu.
- Lightly greasing the puttu maker helps the cooked puttu slide out easily without sticking.
- Homemade ragi flour gives the best flavour and texture, but fresh store-bought flour also works well.
- Ragi puttu tastes best when served immediately after steaming.
Tried This fluffy Ragi Puttu Recipe?
I hope you enjoyed making this Ragi Puttu as much as I do! If you tried it, I’d love to hear how it turned out. Leave a comment and a star rating below to share your experience—it really helps other readers too.
If you enjoy simple, healthy South Indian recipes, subscribe to our newsletter so you never miss a new recipe.
Don’t forget to tag us on Instagram @indianrecipestoday. I’d love to see your delicious homemade ragi puttu and feature your creations!
Happy Cooking!