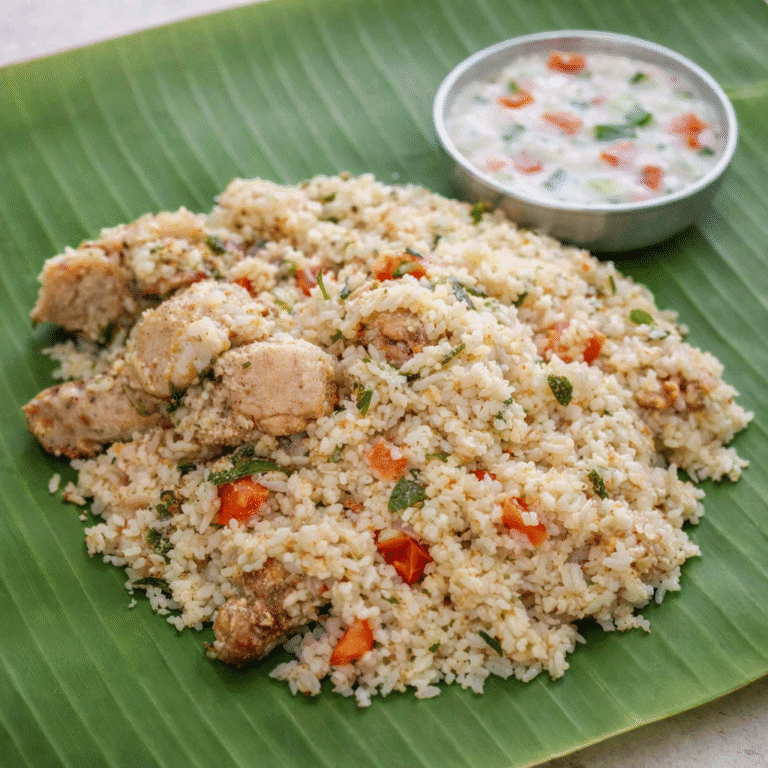
Varagu Arisi Prawn Biryani | Easy Pressure Cooker Eral Biryani
Varagu Arisi Prawn Biryani Recipe is my home-style version made with juicy prawns, homemade masala, and varagu arisi instead of regular rice. It comes out flavorful, light, and perfectly fluffy while still giving the satisfaction of eating a good biryani. If you want to try something different from regular chicken or mutton biryani, this millet prawn biryani is a great choice. It can be prepared simple and fast in a pressure cooker without soaking the millet for a long time like regular rice.

I made this varagu arisi prawn biryani using fresh homemade ginger garlic paste, which gives the biryani a much deeper aroma and authentic homemade flavor.
What is Varagu Arisi
Varagu arisi, also known as Kodo Millet, is a traditional millet widely used in South Indian cooking as a healthier alternative to regular white rice. It has been part of many homemade meals for generations because it cooks quickly, feels light on the stomach, and pairs well with everyday dishes like biryani, pongal, pulao, and upma.
One of the best things about varagu arisi is that it absorbs masala and spices really well while still staying soft and fluffy when cooked correctly. Since it cooks faster than regular rice, it is also convenient for quick one-pot meals and pressure cooker recipes.
If you enjoy cooking with millets, you can also try this simple kodo millet upma recipe for an easy breakfast or light dinner option.
Benefits of Using Varagu Arisi in Biryani
- Naturally rich in fiber
- Feels lighter compared to regular rice
- Keeps you feeling full for longer
- Works well for everyday homemade meals
- Cooks 50% faster than basmati
- Cooks faster than many traditional rice varieties
- Absorbs masala and flavors beautifully
- Suitable for one-pot meals and pressure cooker cooking
- Commonly included in balanced South Indian meal plans
- A good way to include millets in regular cooking
- Pairs well with spicy gravies, curries, and biryani recipes
In this prawn biryani recipe, the varagu arisi blends really well with the spicy masala, fresh mint leaves, coriander, and prawns, giving the dish a comforting South Indian home-style taste.
Ingredients Needed for Healthy Millet Biryani

Main Ingredients
- 1 cup varagu arisi (250g kodo millet)
- 1 kg cleaned prawns
- 2 medium onions, thinly sliced
- 2 medium tomatoes, sliced
- 2 tbsp ginger garlic paste
- Mint leaves – a handful
- Coriander leaves – a handful
- 2 green chillies
- 2 tbsp curd
- Salt as required
Spice Powders
- 1 tbsp homemade biryani masala
- 1 tbsp homemade red chilli powder
- ¼ tbsp turmeric powder
Whole Biryani Spices
- 1 bay leaf
- 2 cloves
- 1 small cinnamon stick
- Kalpasi
- 2 cardamom
- Small piece of javathri
- ¼ tbsp fennel seeds
For Cooking
- 1 tbsp ghee
- 2 tbsp cooking oil
- 1 cup water
How to Make Pressure Cooker Prawn Biryani (Step-by-Step)
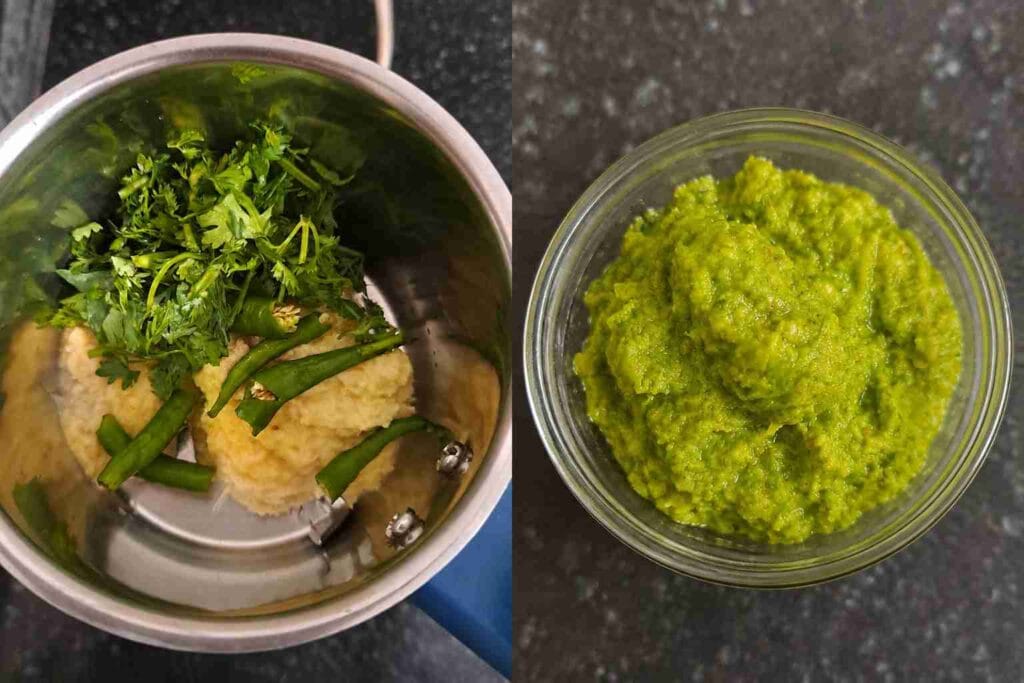
Step 1: Prepare the Green Paste
- Add ginger garlic paste, green chilli, and a few coriander leaves to a mixer jar. Grind it into a smooth paste and keep it aside. This paste gives the biryani a fresh taste and nice flavor.
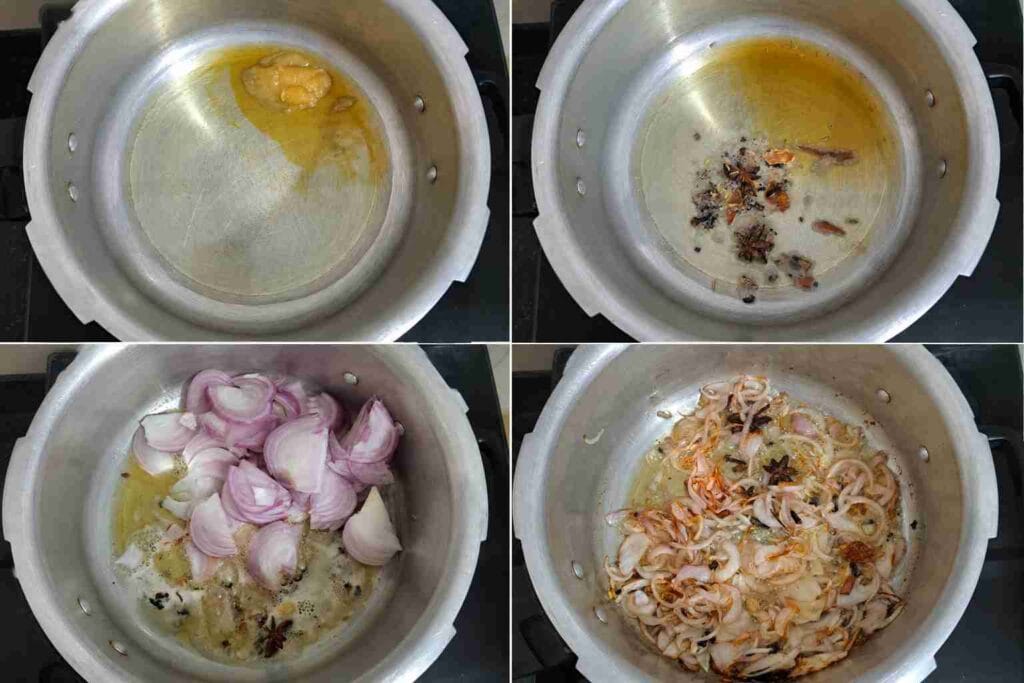
Step 2: Saute the Whole Spices and Onion
- Heat ghee and oil in a pressure cooker. Add bay leaf, cinnamon, cloves, cardamom, fennel seeds, kalpasi, and javathri. Saute for a few seconds until the spices release a nice aroma.
- Now add thinly sliced onions and cook well until they turn light golden brown. Sauteing the onions properly gives the prawn biryani a rich flavor and good taste.
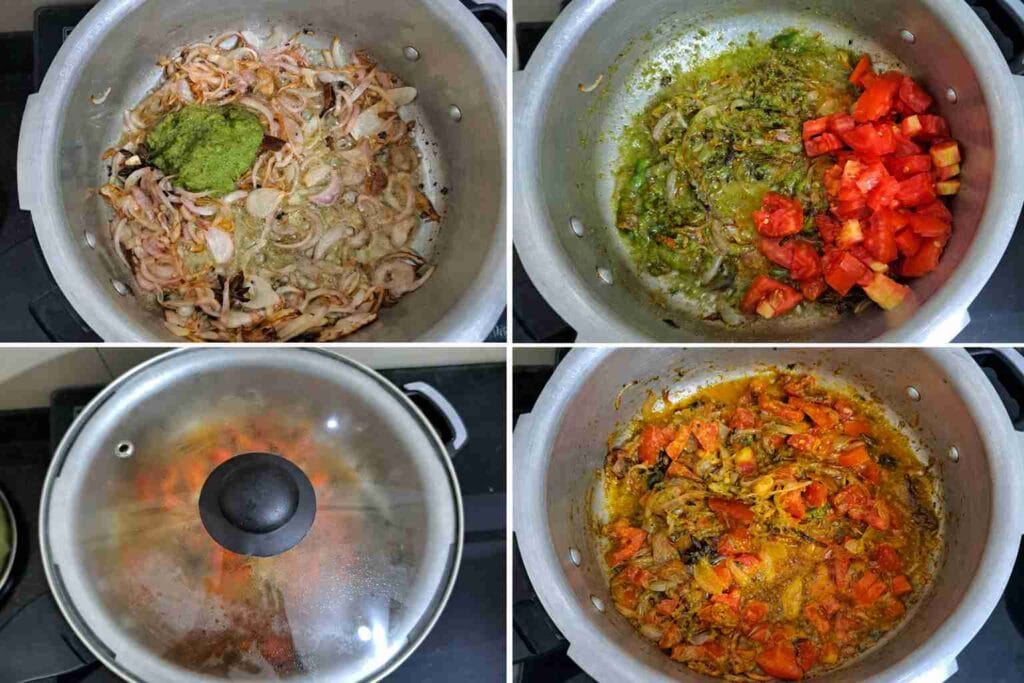
Step 3: Cook the Tomato Masala
- Add the prepared green paste to the fried onions and saute for 2–3 minutes until the raw smell goes away. Then add chopped tomatoes and mix well.
- Close the lid for a few minutes and cook until the tomatoes turn soft and release oil from the masala. This step gives the biryani a rich masala base and good flavor.
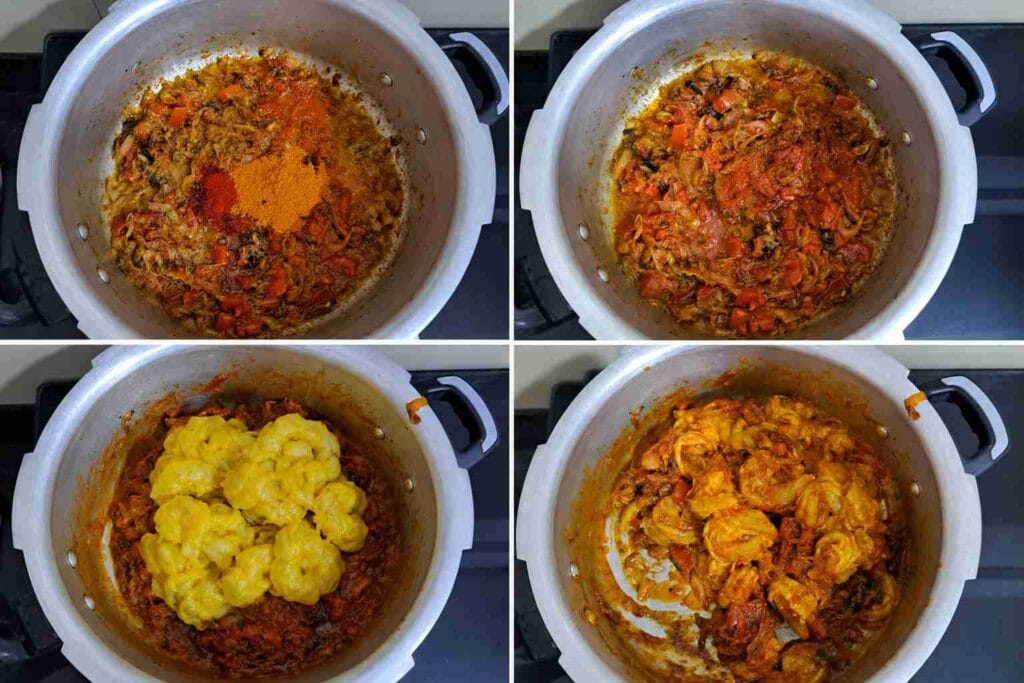
Step 4:Add the Masala Powder and Prawns
- Once the tomato masala is cooked well, add turmeric powder, biryani masala, and red chilli powder. Mix everything well and cook for 2–3 minutes.
- Now add the cleaned prawns and mix nicely with the masala. Cook for a 2-3 minutes until the prawns mix well with the masala.
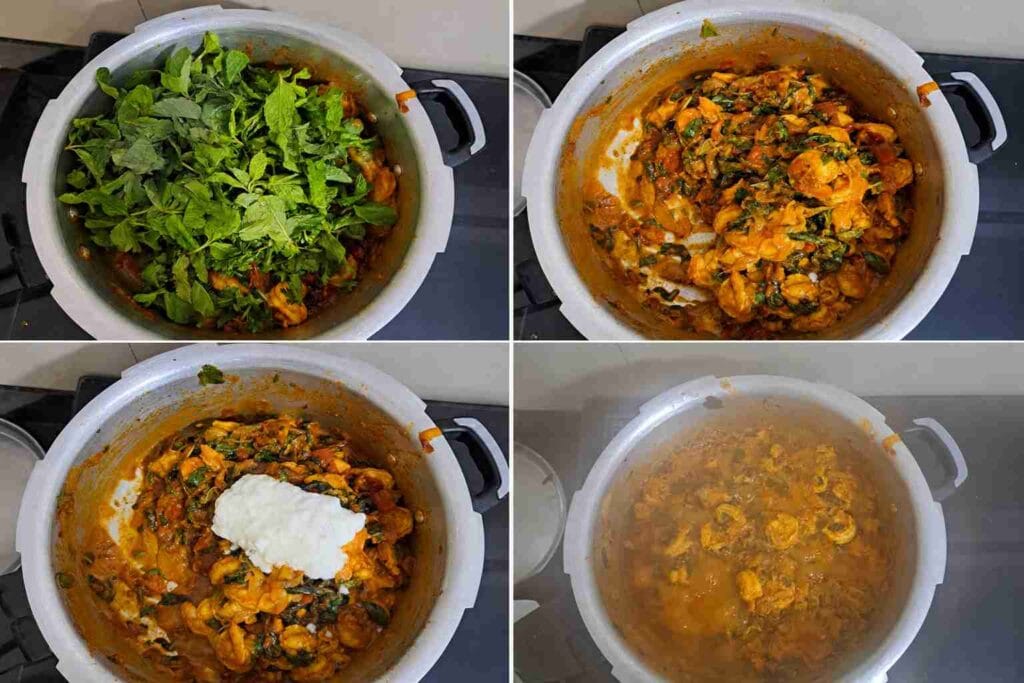
Step 5: Add Mint Leaves and Curd
- Add mint leaves and coriander leaves to the prawn masala and mix well. Cook for a minute until the leaves shrink slightly.
- Now add curd and mix everything together. Close the cooker with a lid and cook for about 5 to 10 minutes. The prawns will slowly release water and blend nicely with the masala, giving the varagu arisi prawn biryani a rich flavor and aroma.
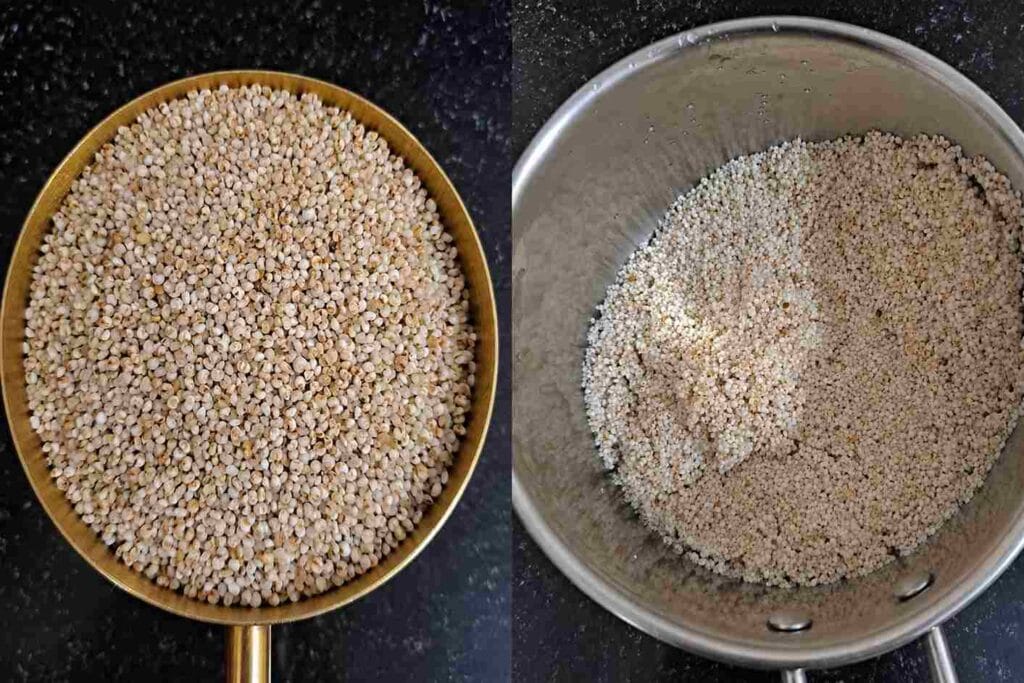
Step 6: Soak the Varagu Arisi
- Meanwhile, while the prawn masala is cooking, wash the varagu arisi well and soak it in water for about 10 minutes or You can also use cleaned varagu arisi directly without soaking if needed.
- Since varagu arisi cooks much faster than regular rice, a short soaking time is enough. Avoid soaking it for too long, otherwise the millet may turn soft and mushy after cooking.
Step 7: Add Water and Cook the Biryani
- Add water to the prawn masala and check the consistency before adding the varagu arisi. Since the prawns already release water while cooking, I used only 1 cup of water for this recipe.
- Now add the soaked varagu arisi and salt as needed. Mix gently and immediately close the pressure cooker. Cook on medium flame for 1 whistle and allow the pressure to release naturally.
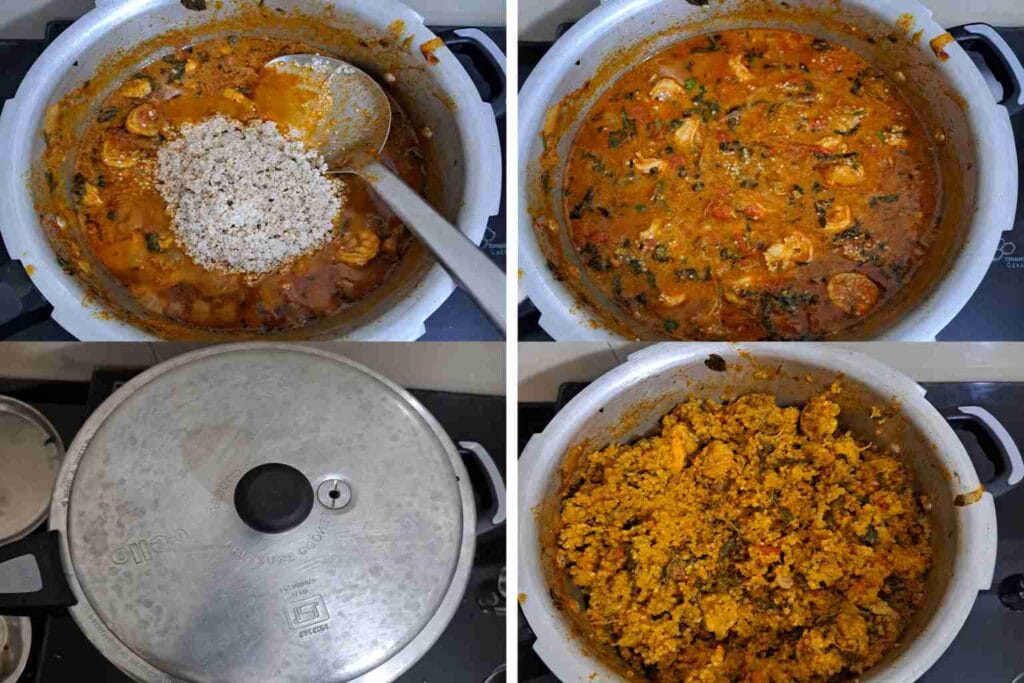
Step 8: Fluff and Serve
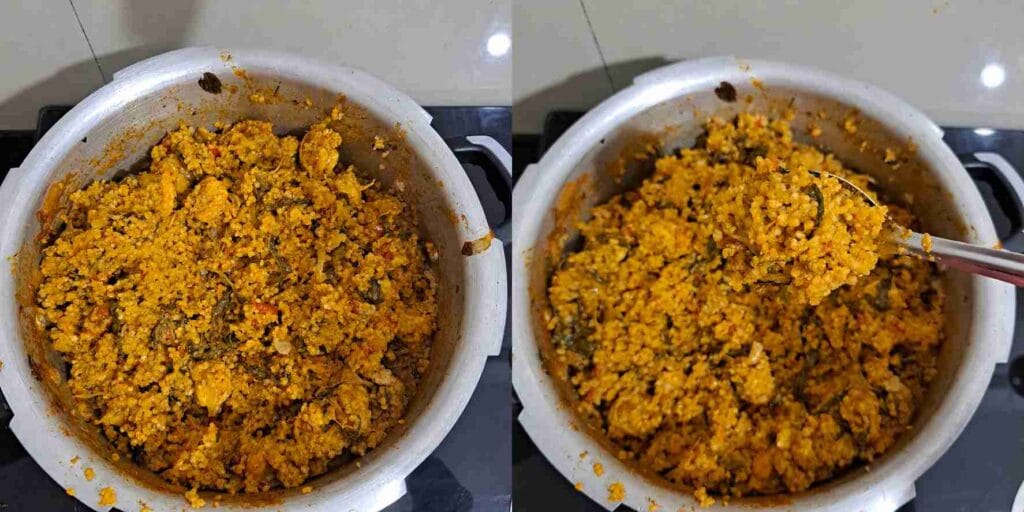
- After the pressure releases naturally and open the cooker , gently fluff the biryani using a ladle. The varagu arisi absorbs the prawn masala beautifully and turns soft, flavorful, and uthri uthri without becoming sticky.
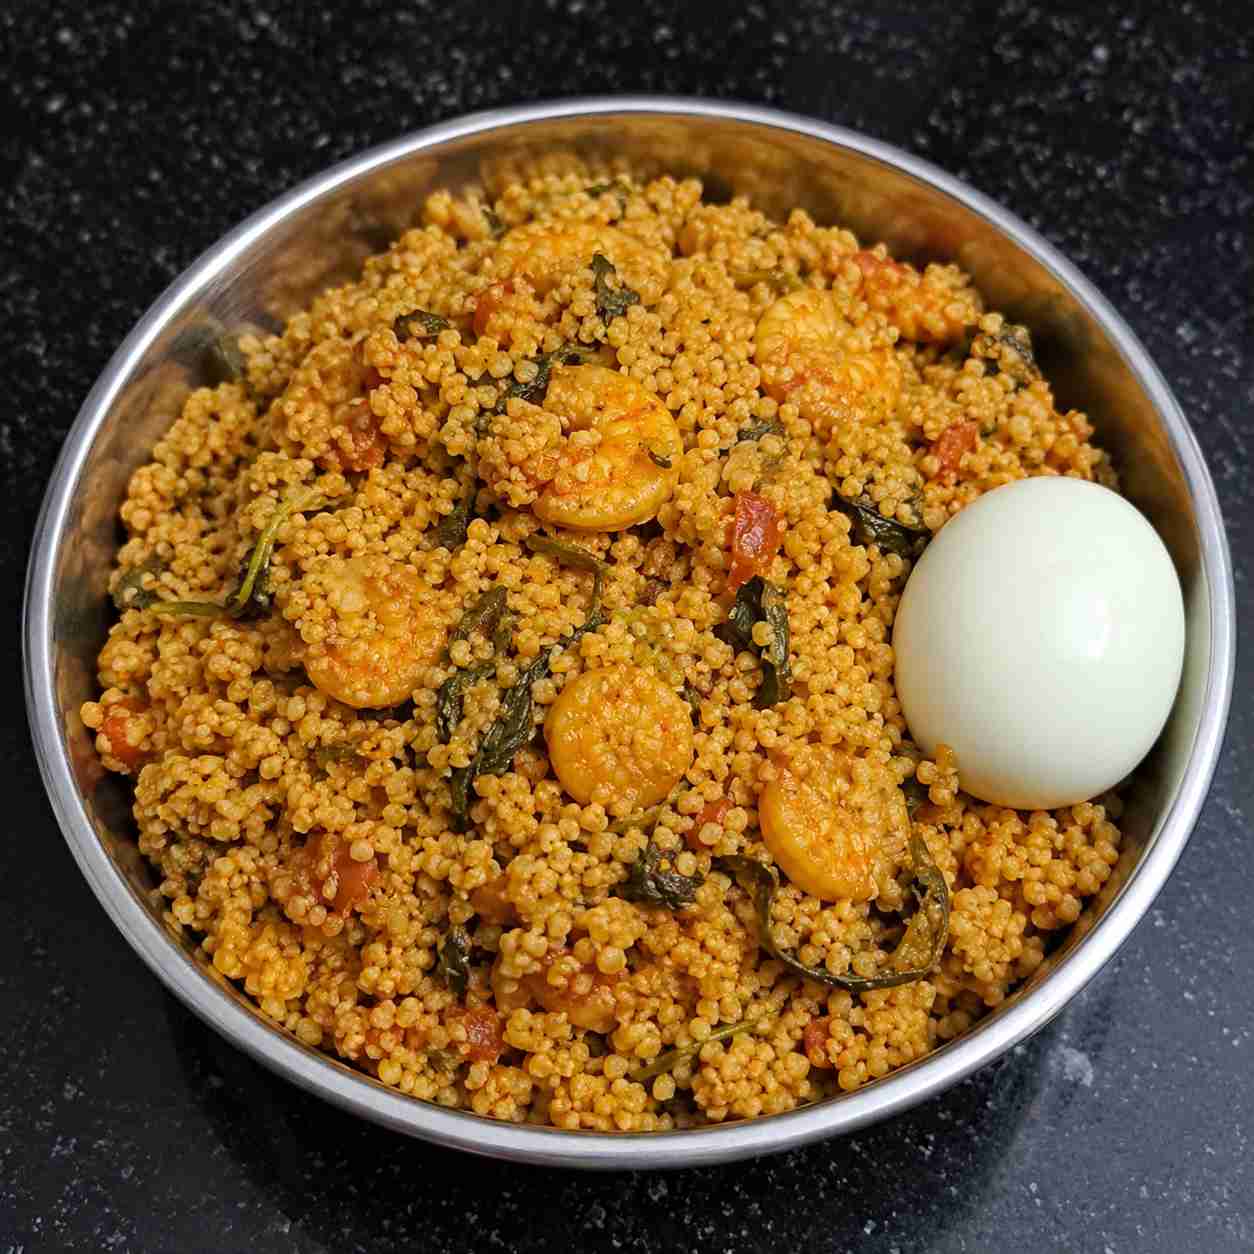
- Serve the varagu arisi prawn biryani hot with onion raita, boiled egg, or brinjal curry for a comforting meal.
Tips and Variations
- Soak the varagu arisi only for 10 minutes. Soaking for a longer time can make the biryani mushy after cooking.
- Immediately pressure cook after adding the millet. Do not leave it outside for too long once mixed with water.
- Prawns naturally release water while cooking, so adjust the water quantity carefully before adding the varagu arisi.
- Saute the onions well until golden brown. This gives the biryani a deeper flavor and nice aroma.
- Homemade biryani masala gives the best taste, but store-bought biryani masala can also be used.
- You can replace prawns with chicken if needed, but the cooking time may vary slightly.
- For a spicier millet prawn biryani, increase the green chilli or red chilli powder according to your taste.
- This pressure cooker varagu biryani tastes best when served hot with onion raita or boiled egg.
This millet prawn biryani tastes especially comforting when served with spicy side dishes like chicken liver masala or a hot bowl of pepper garlic rasam during rainy or cold days.
Here’s the detailed recipe card with exact ingredients, cooking time, and easy pressure cooker steps.
Varagu Arisi Prawn Biryani
Ingredients
Equipment
Method
- Wash the varagu arisi well and soak it for 10 minutes.
- Grind ginger garlic paste, green chilli, and a few coriander leaves into a smooth paste.
- Heat ghee and oil in a pressure cooker. Add the whole biryani spices and saute for a few seconds.
- Add sliced onions and saute until light golden brown.
- Add the prepared green paste and saute for 2–3 minutes.
- Add chopped tomatoes and cook until soft and oil starts separating from the masala.
- Add turmeric powder, biryani masala, and red chilli powder. Mix and cook for a few minutes.
- Add cleaned prawns and mix well with the masala.
- Add mint leaves, coriander leaves, and curd. Close with a lid and cook for 5 minutes.
- Add water and adjust consistency. Since prawns release water naturally, only 1 cup water was used.
- Add soaked varagu arisi and salt. Mix gently.
- Immediately close the pressure cooker and cook on medium flame for 1 whistle.
- Allow pressure to release naturally. Gently fluff and serve hot.
Notes
- Use homemade biryani masala for better flavor and aroma.
- Saute onions properly until golden brown for richer taste.
- For extra spice, add one more green chilli.
- This millet prawn biryani tastes best with onion raita or boiled egg.
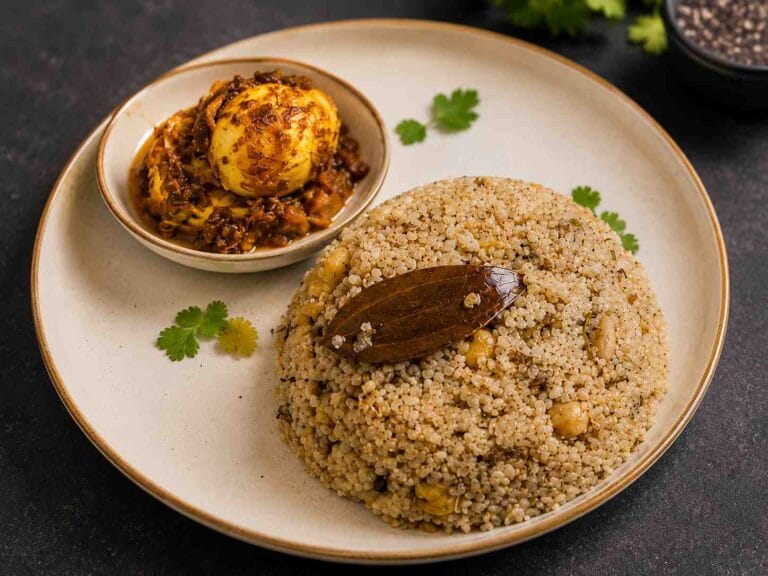
- You can also make this recipe using seeraga samba rice instead of millet.
- Varagu arisi cooks much faster than regular rice, so avoid soaking it for too long.
- Water quantity may vary slightly depending on how much water the prawns release while cooking.
- Immediately pressure cook after adding the millet to prevent mushy texture.
FAQs for Varagu Arisi Prawn Biryani Recipe
How much water should I use for varagu arisi biryani?
Usually, 1 cup varagu arisi needs around 1.5 cups water.But in this prawn biryani recipe, the prawns naturally release water while cooking, so adjust the water consistency based on that
Can I use frozen prawns for millet biryani?
Yes, frozen prawns can also be used for this millet prawn biryani recipe. Make sure to thaw and clean them properly before cooking.
How long should I soak varagu arisi before cooking?
Soak varagu arisi only for about 10 minutes. Longer soaking can make the millet soft very quickly and may affect the texture of the biryani.
What can I serve with varagu arisi prawn biryani?
This healthy millet biryani tastes best with onion raita, boiled egg, brinjal curry, or simple salna.
Why did my varagu biryani become mushy?
Varagu arisi cooks very quickly compared to normal rice. Over soaking the millet or adding extra water can make the biryani mushy. For this recipe, soaking for 10 minutes and pressure cooking immediately after adding the millet helps get that uthri uthri texture.
Benefits of Prawns
- Good source of protein
- Cooks quickly and easily
- Light and filling at the same time
- Contains omega-3 fatty acids
- Rich in vitamin B12 and selenium
- Pairs perfectly with millet-based meals
- Can be included as part of a balanced diet
- Lower in carbohydrates compared to many meat dishes
You can also read more about the health benefits of prawns
.
Why You’ll Love This Varagu Arisi Prawn Biryani
Varagu arisi prawn biryani is one of my favorite recipes to make when I want something lighter than regular biryani rice but still full of spicy masala flavor. The millet cooks much faster than regular rice, so the whole recipe comes together easily in a pressure cooker without long soaking time.
The prawns cook quickly and absorb the masala really well while also releasing their natural juices into the biryani. This gives the dish a rich homemade taste without needing too many ingredients or complicated steps.
Golden fried onions, fresh mint leaves, coriander, kalpasi, and homemade biryani masala all come together to give this biryani a proper South Indian home-style flavor. When cooked with the right water ratio, the varagu arisi stays soft, fluffy, and uthri uthri instead of turning mushy.
I also like this recipe because it feels lighter on the stomach compared to regular rice biryani, making it a nice option for weekend lunch or family meals. It tastes really good with onion raita, boiled egg, brinjal curry, or simple salna.
If you are trying millet recipes for the first time, this is honestly a good place to start because the pressure cooker method makes the process simple and beginner-friendly.
If you try this varagu arisi prawn biryani, let me know what side dish you served with it and how it turned out in your kitchen. I’d genuinely love to hear your version of this recipe. Don’t forget to leave a comment below and subscribe to the newsletter for more easy South Indian recipes, millet meals, and homemade cooking ideas